Search

Connectors

Contact support

Helpdesk portal

MS Business Central extension

MS Business Central extension

The Peliqan extension for Business Central allows to set up efficient data pipelines that sync data from your Business Central tenant to your data warehouse.

The extension is a read-only extension that exposes secure API endpoints. These API endpoints are used by the data pipelines to read data from Business Central, including standard & custom objects, as well as standard & custom fields.

How to install the extension

Follow the below steps to install the extension in one environment in your Business Central tenant:

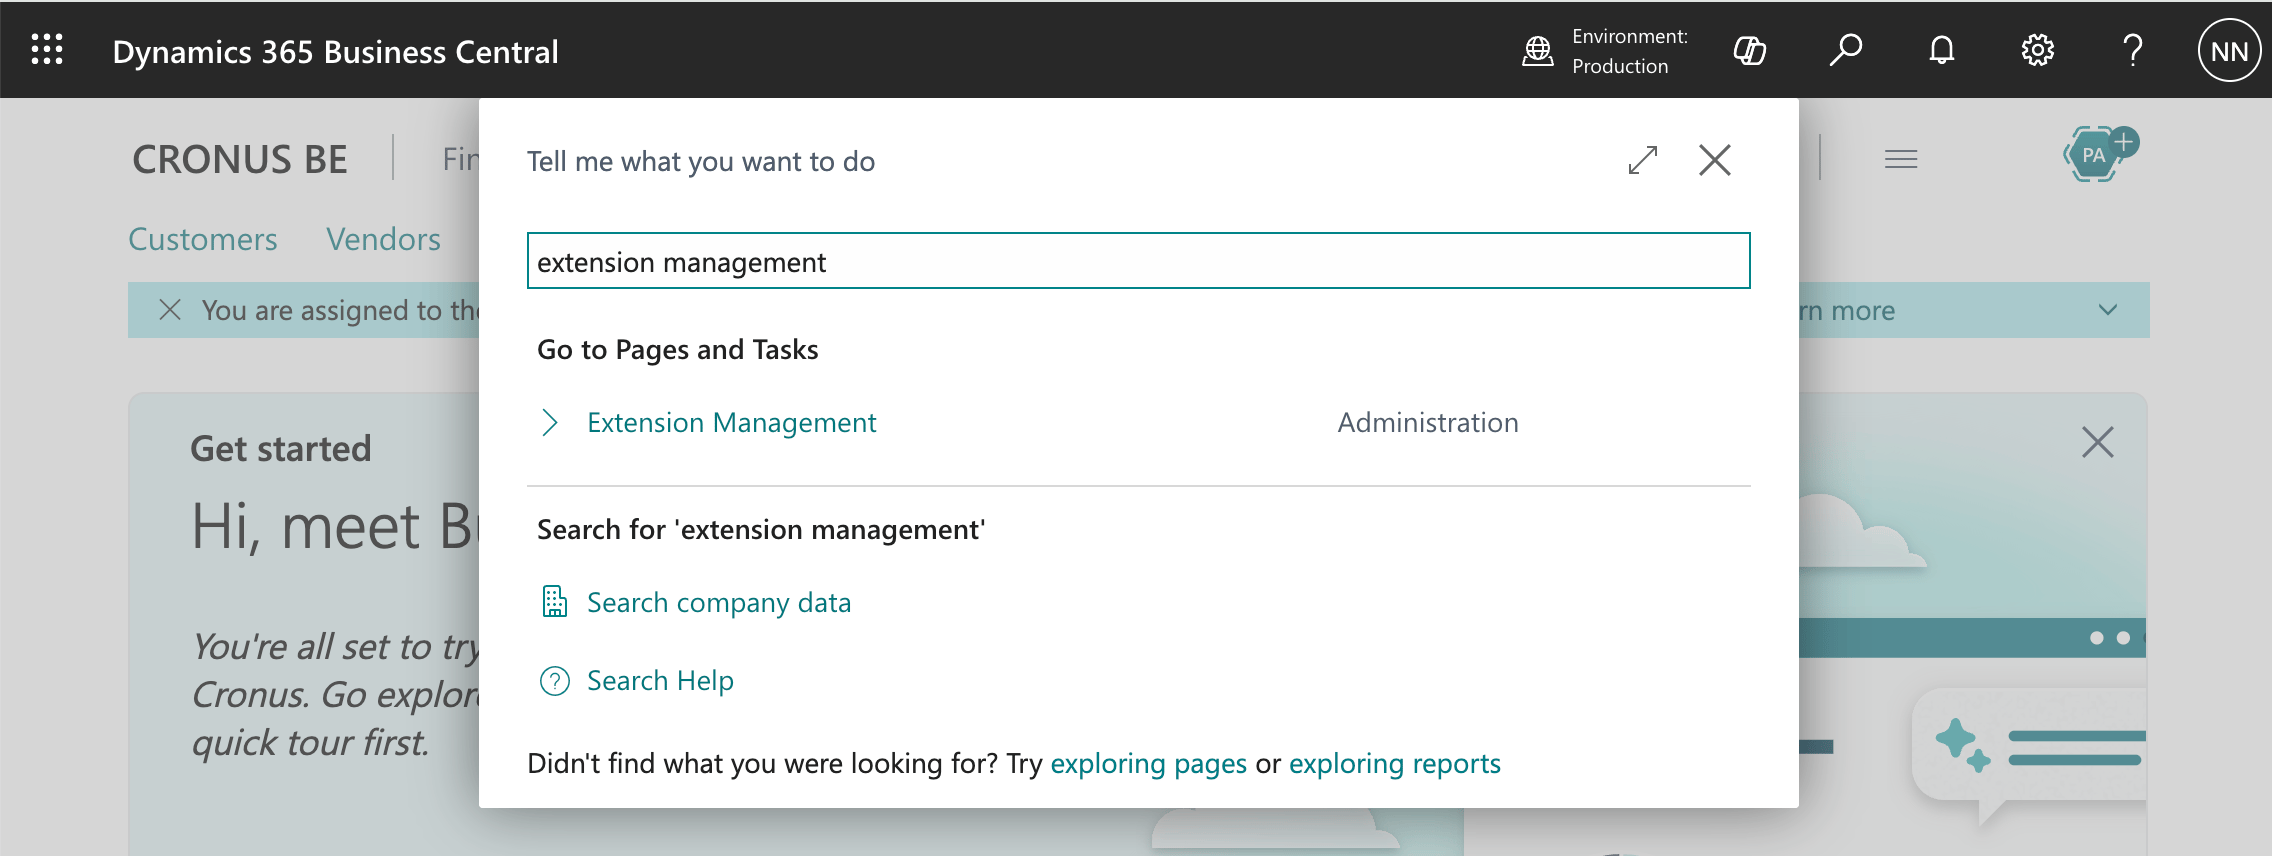
Open search (right top corner, magnifier icon) and search for Extension Management. Click on the link Extension Management:
image

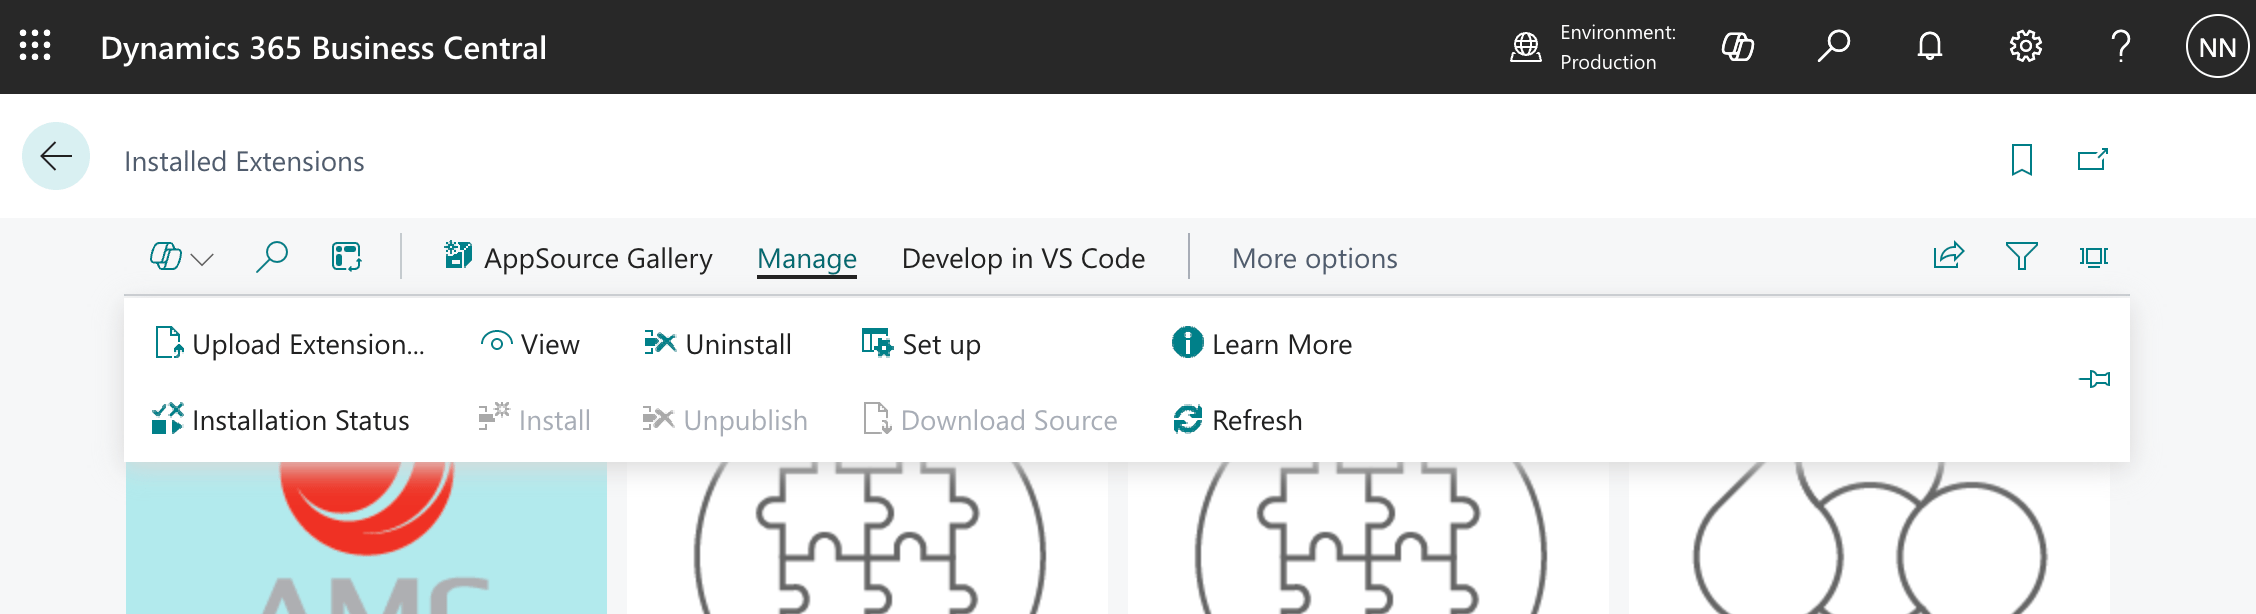
Click on Manage > Upload Extension:

image

Download this zip file and unzip it to get the .app file:

bc-peliqan-sync-v1.0.0.8.zip12.9 KiB

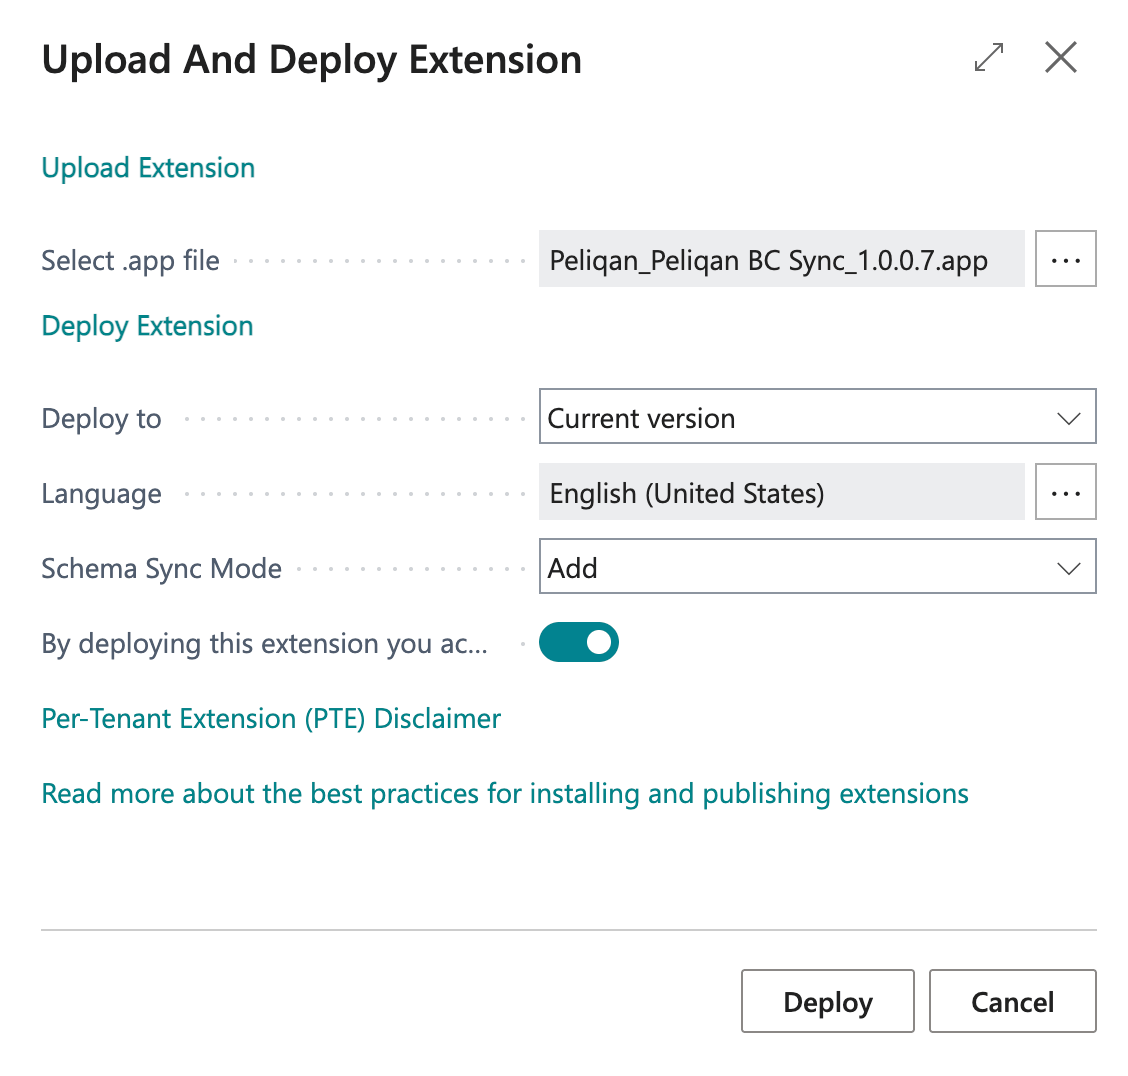
Upload the .app file in the field “Select .app file”.

Make sure to toggle the approval toggle “By deploying this extension you acknowledge that your data may be sent outside…”.

Click on Deploy:
image

Check installation status

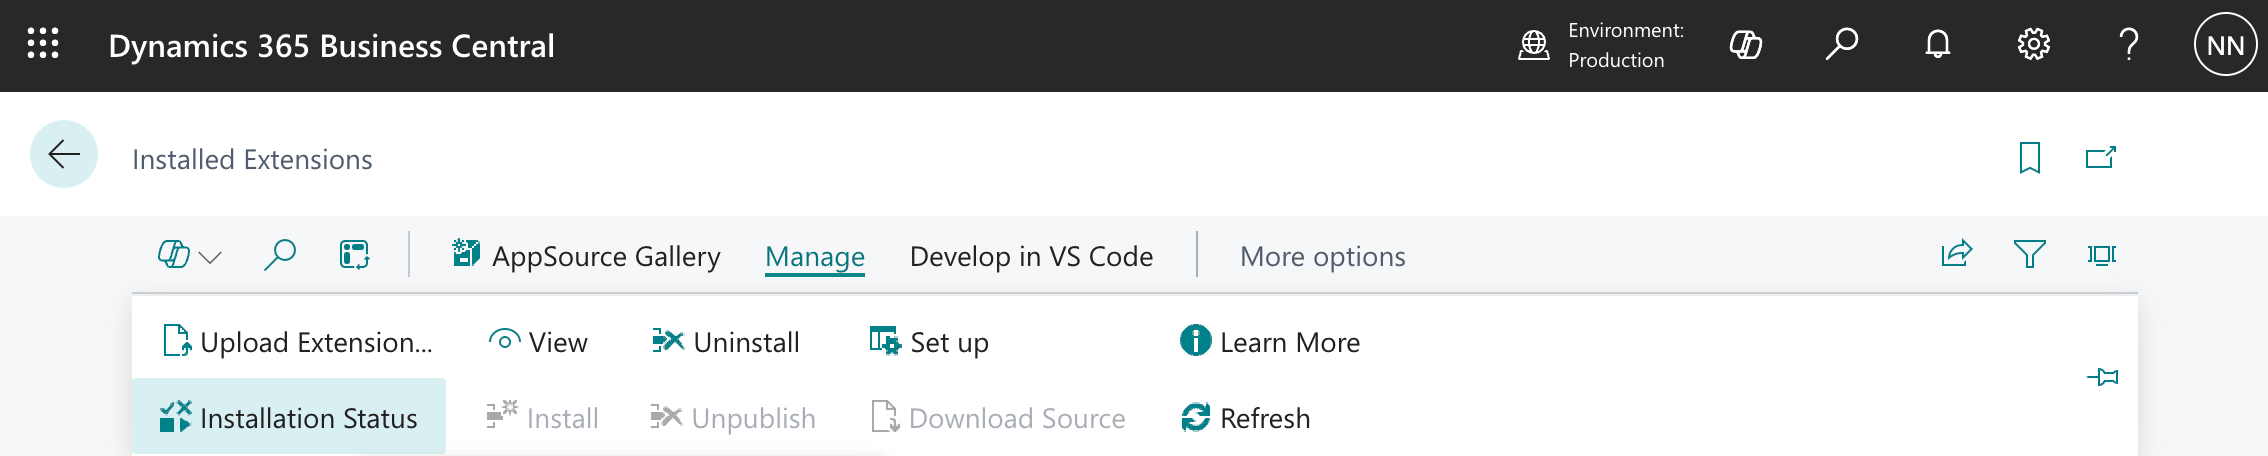
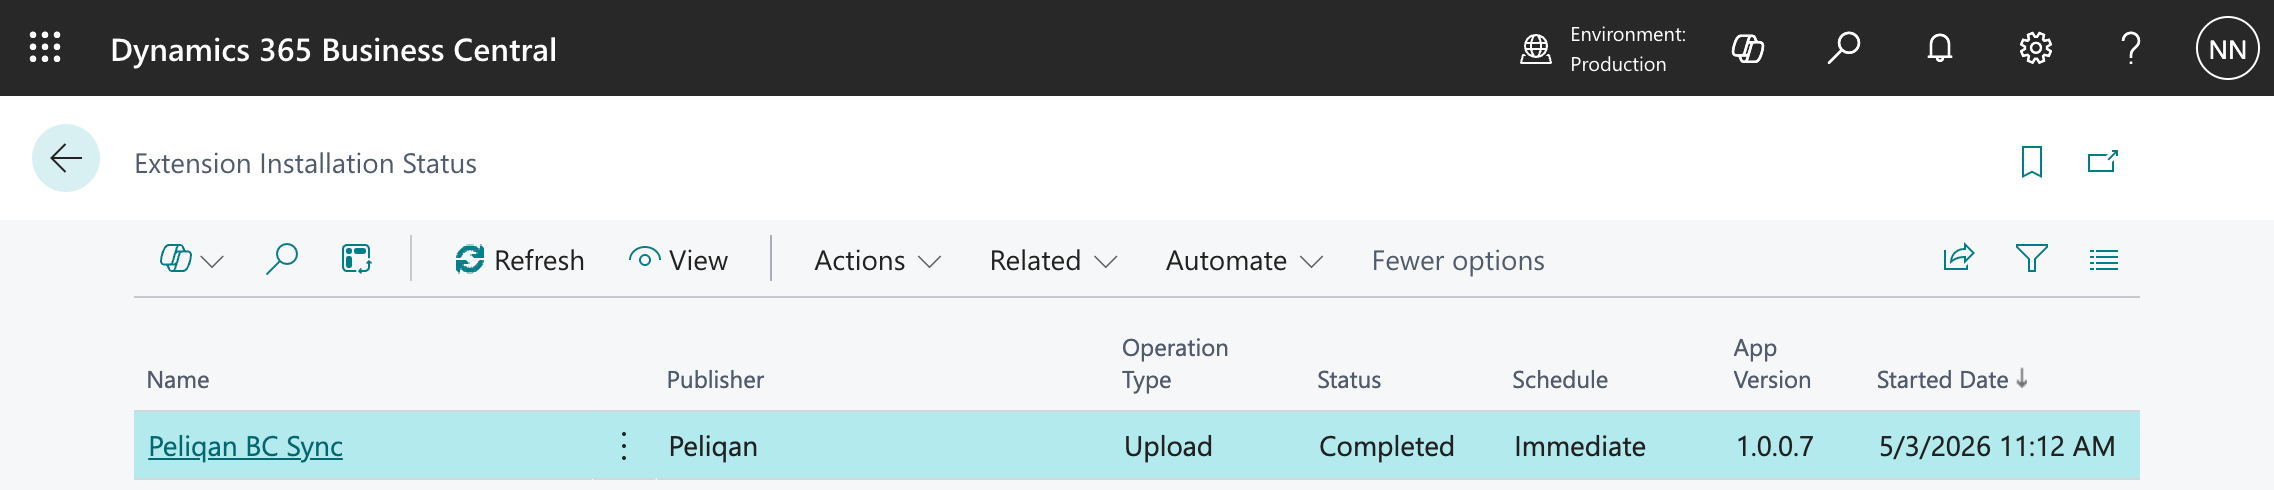
In Extension Management, click on Manage > Installation status:
image

Find the extension “Peliqan BC Sync” in the list and check the Status. Wait a few minutes until the Status is Completed:

image

After installation: get all details

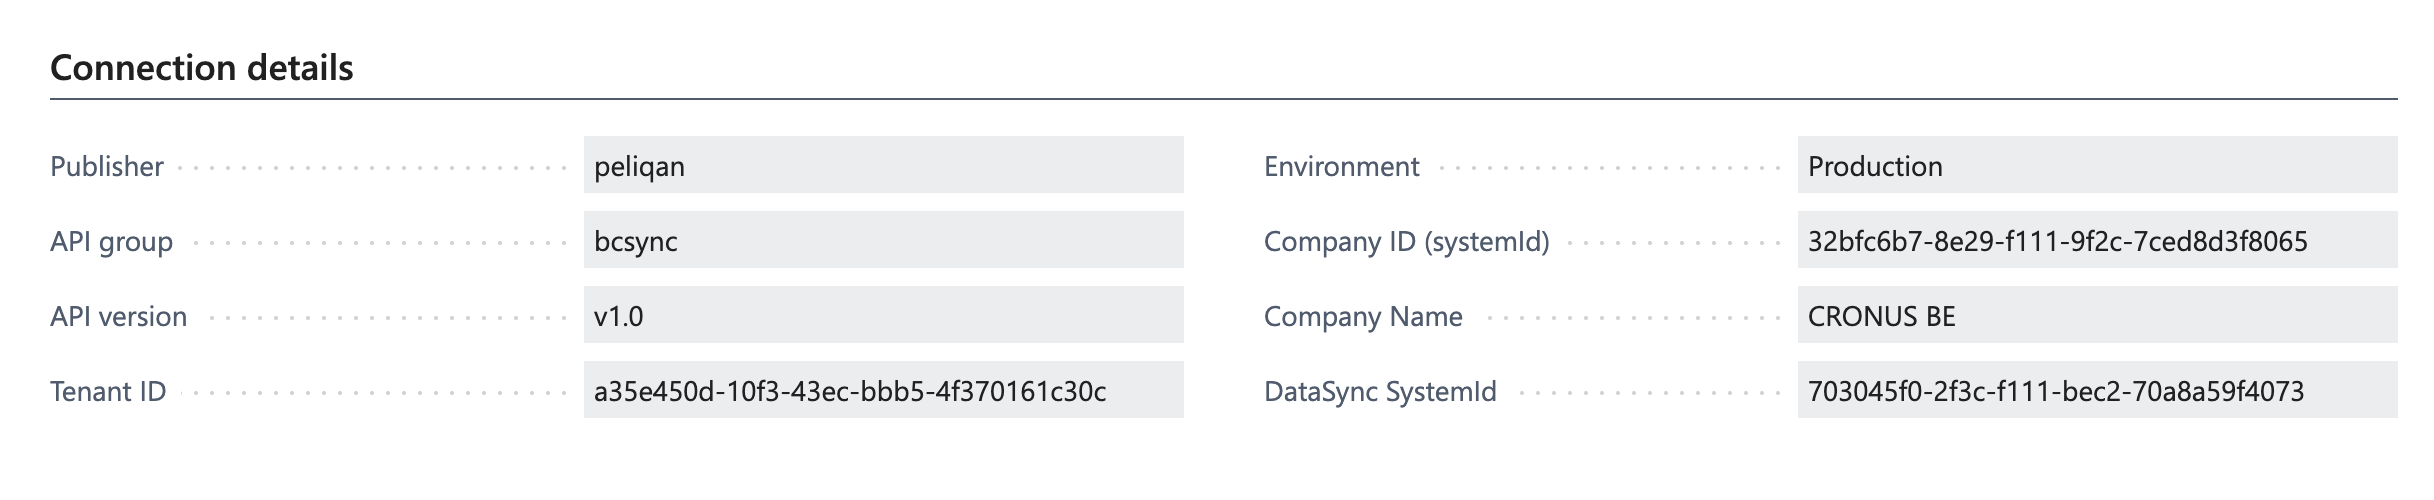
Once the extension has been installed, please note following settings, so that the data pipeline can be configured (see below):

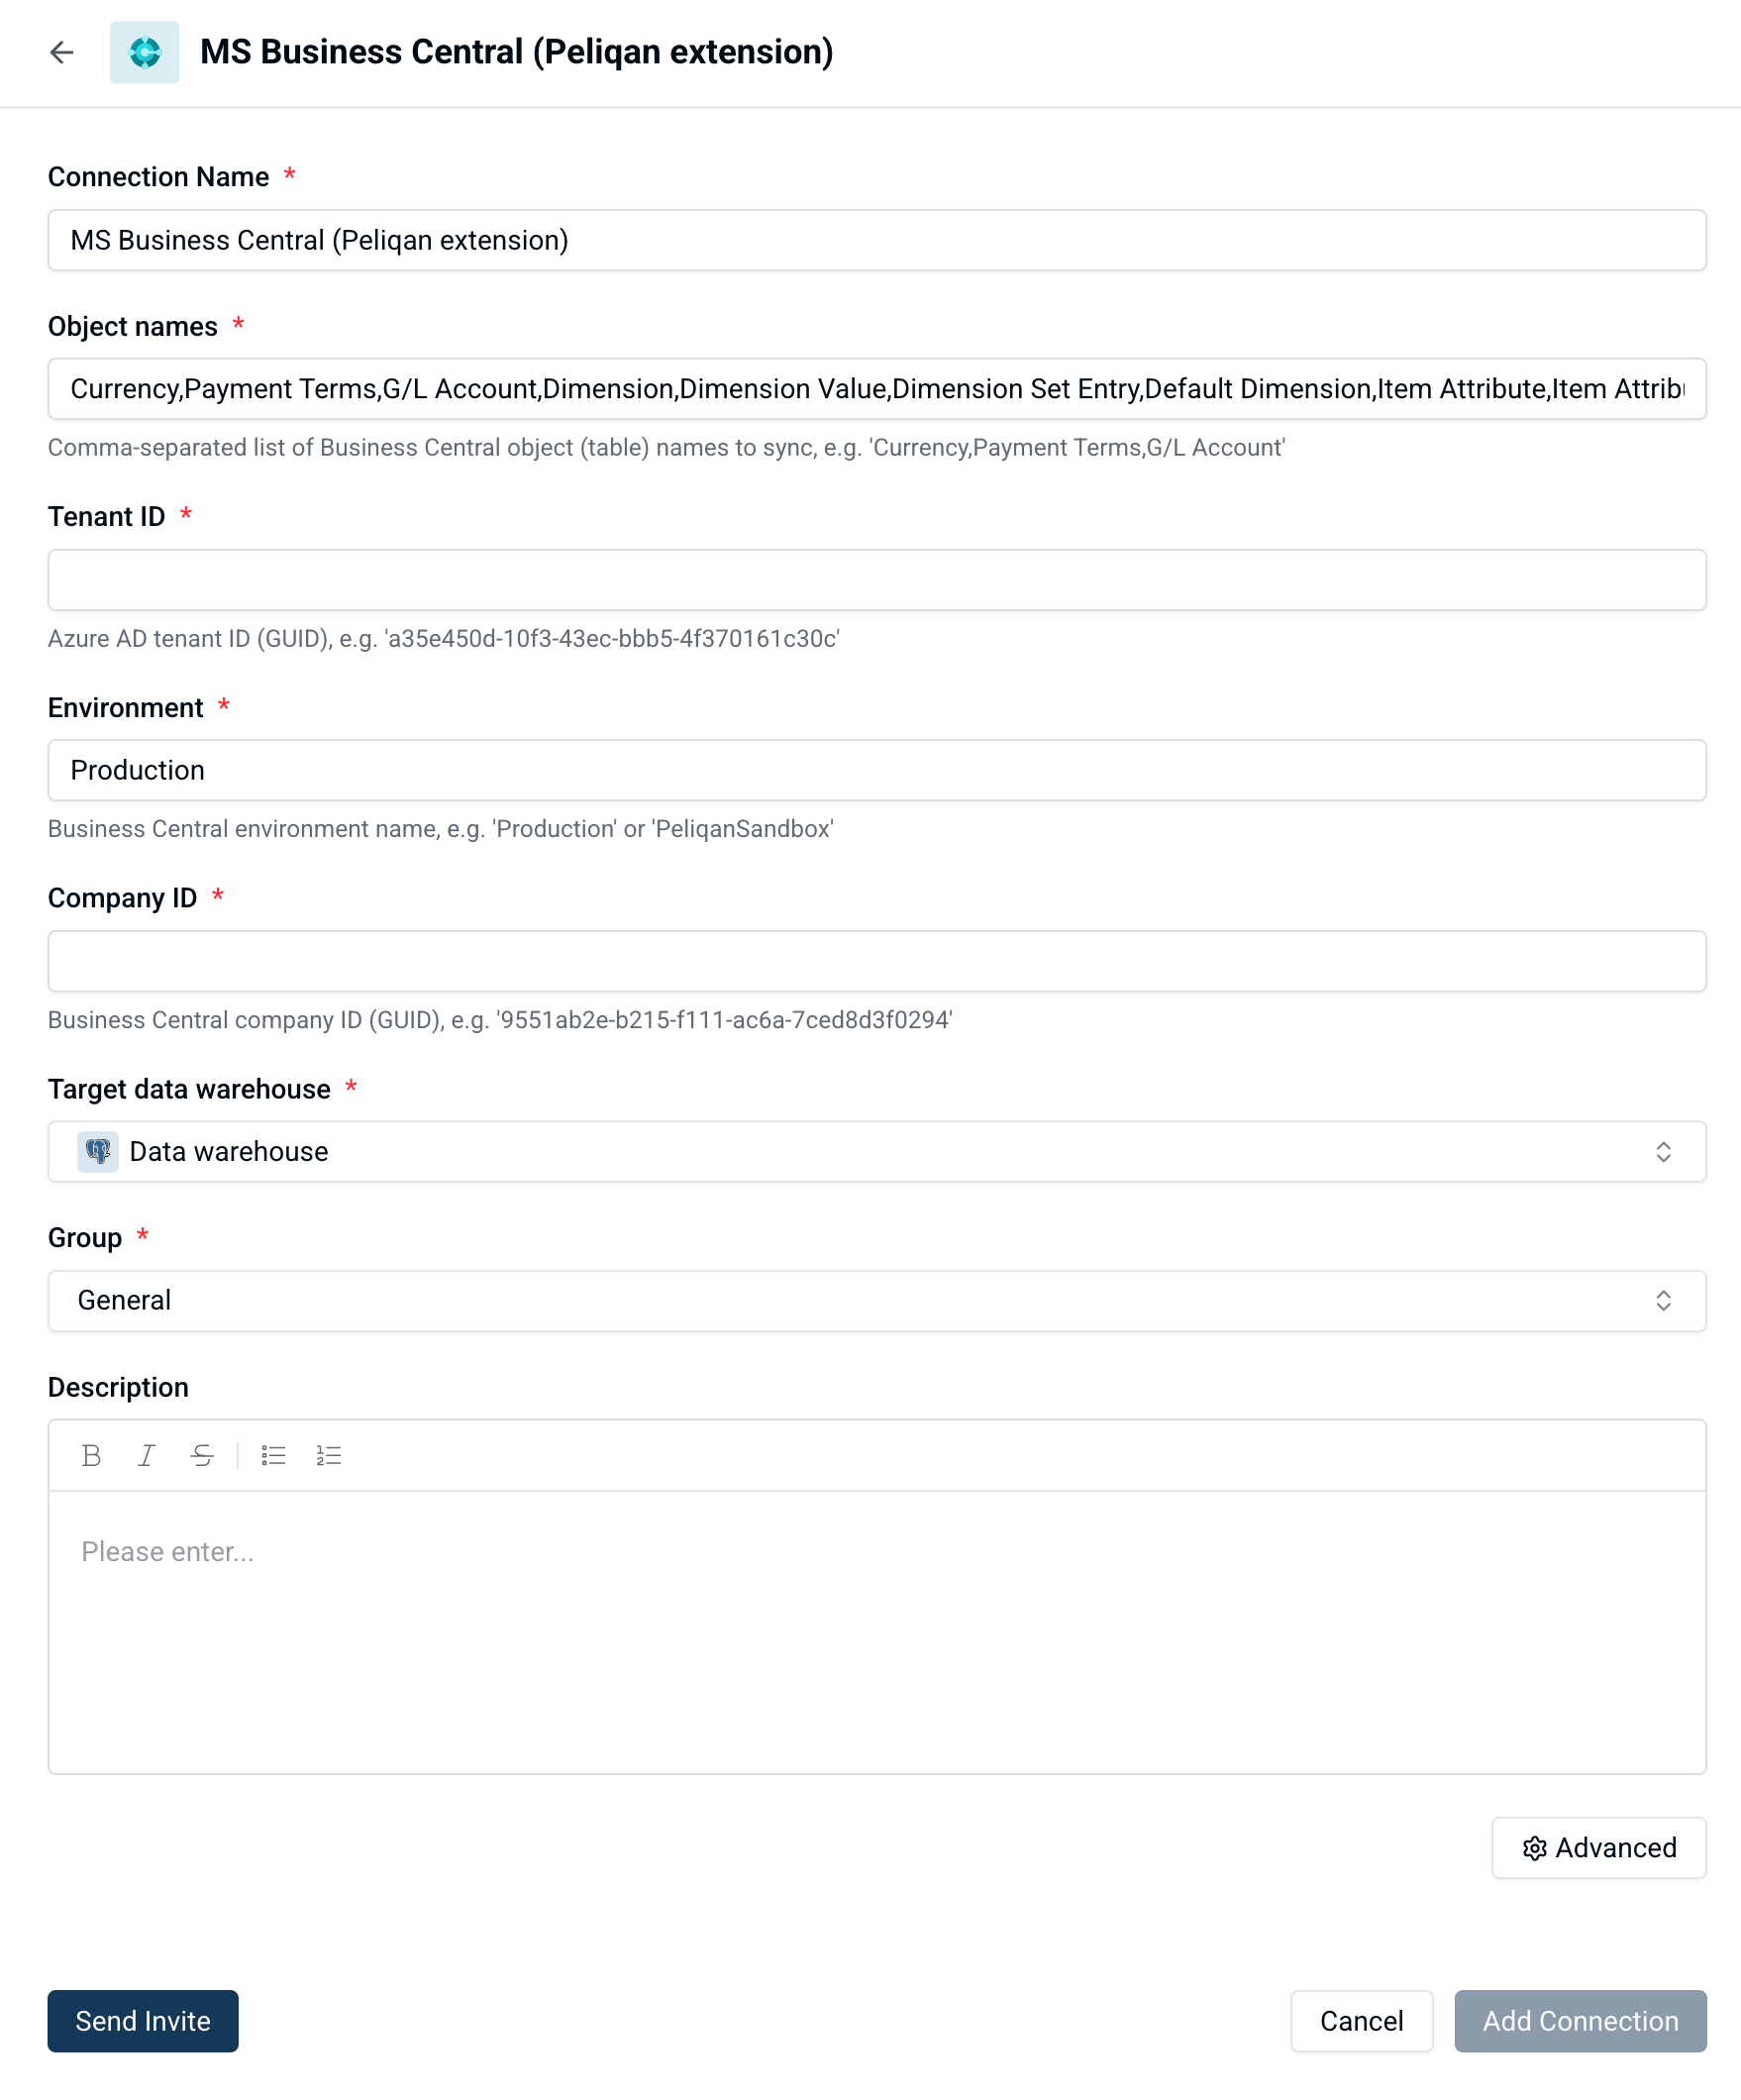
  • Tenant ID
  • Environment name
  • Company ID

You can find these details in the extension, by following the below steps:

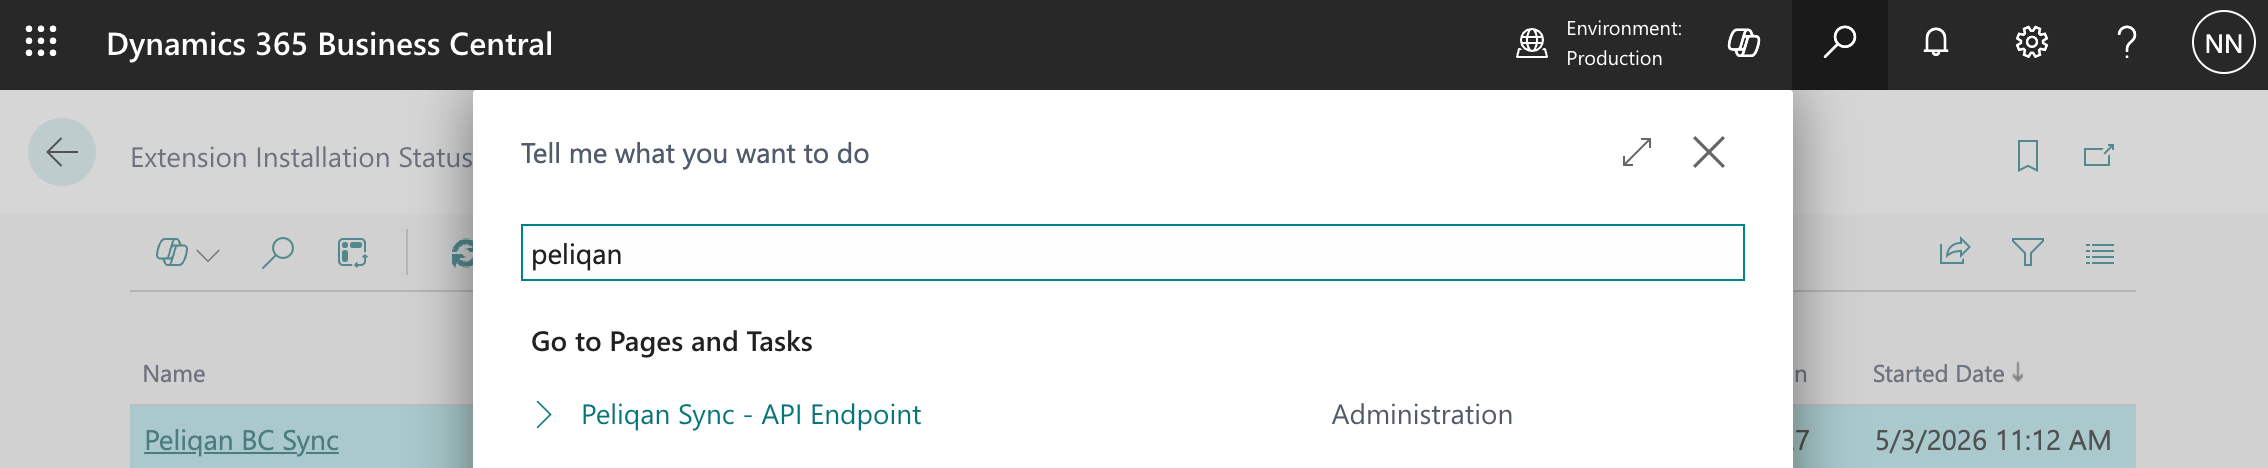
Open search (right top corner, magnifier icon) and search for “Peliqan”. Click on the link “Peliqan Sync - API endpoint” from the search results:

image

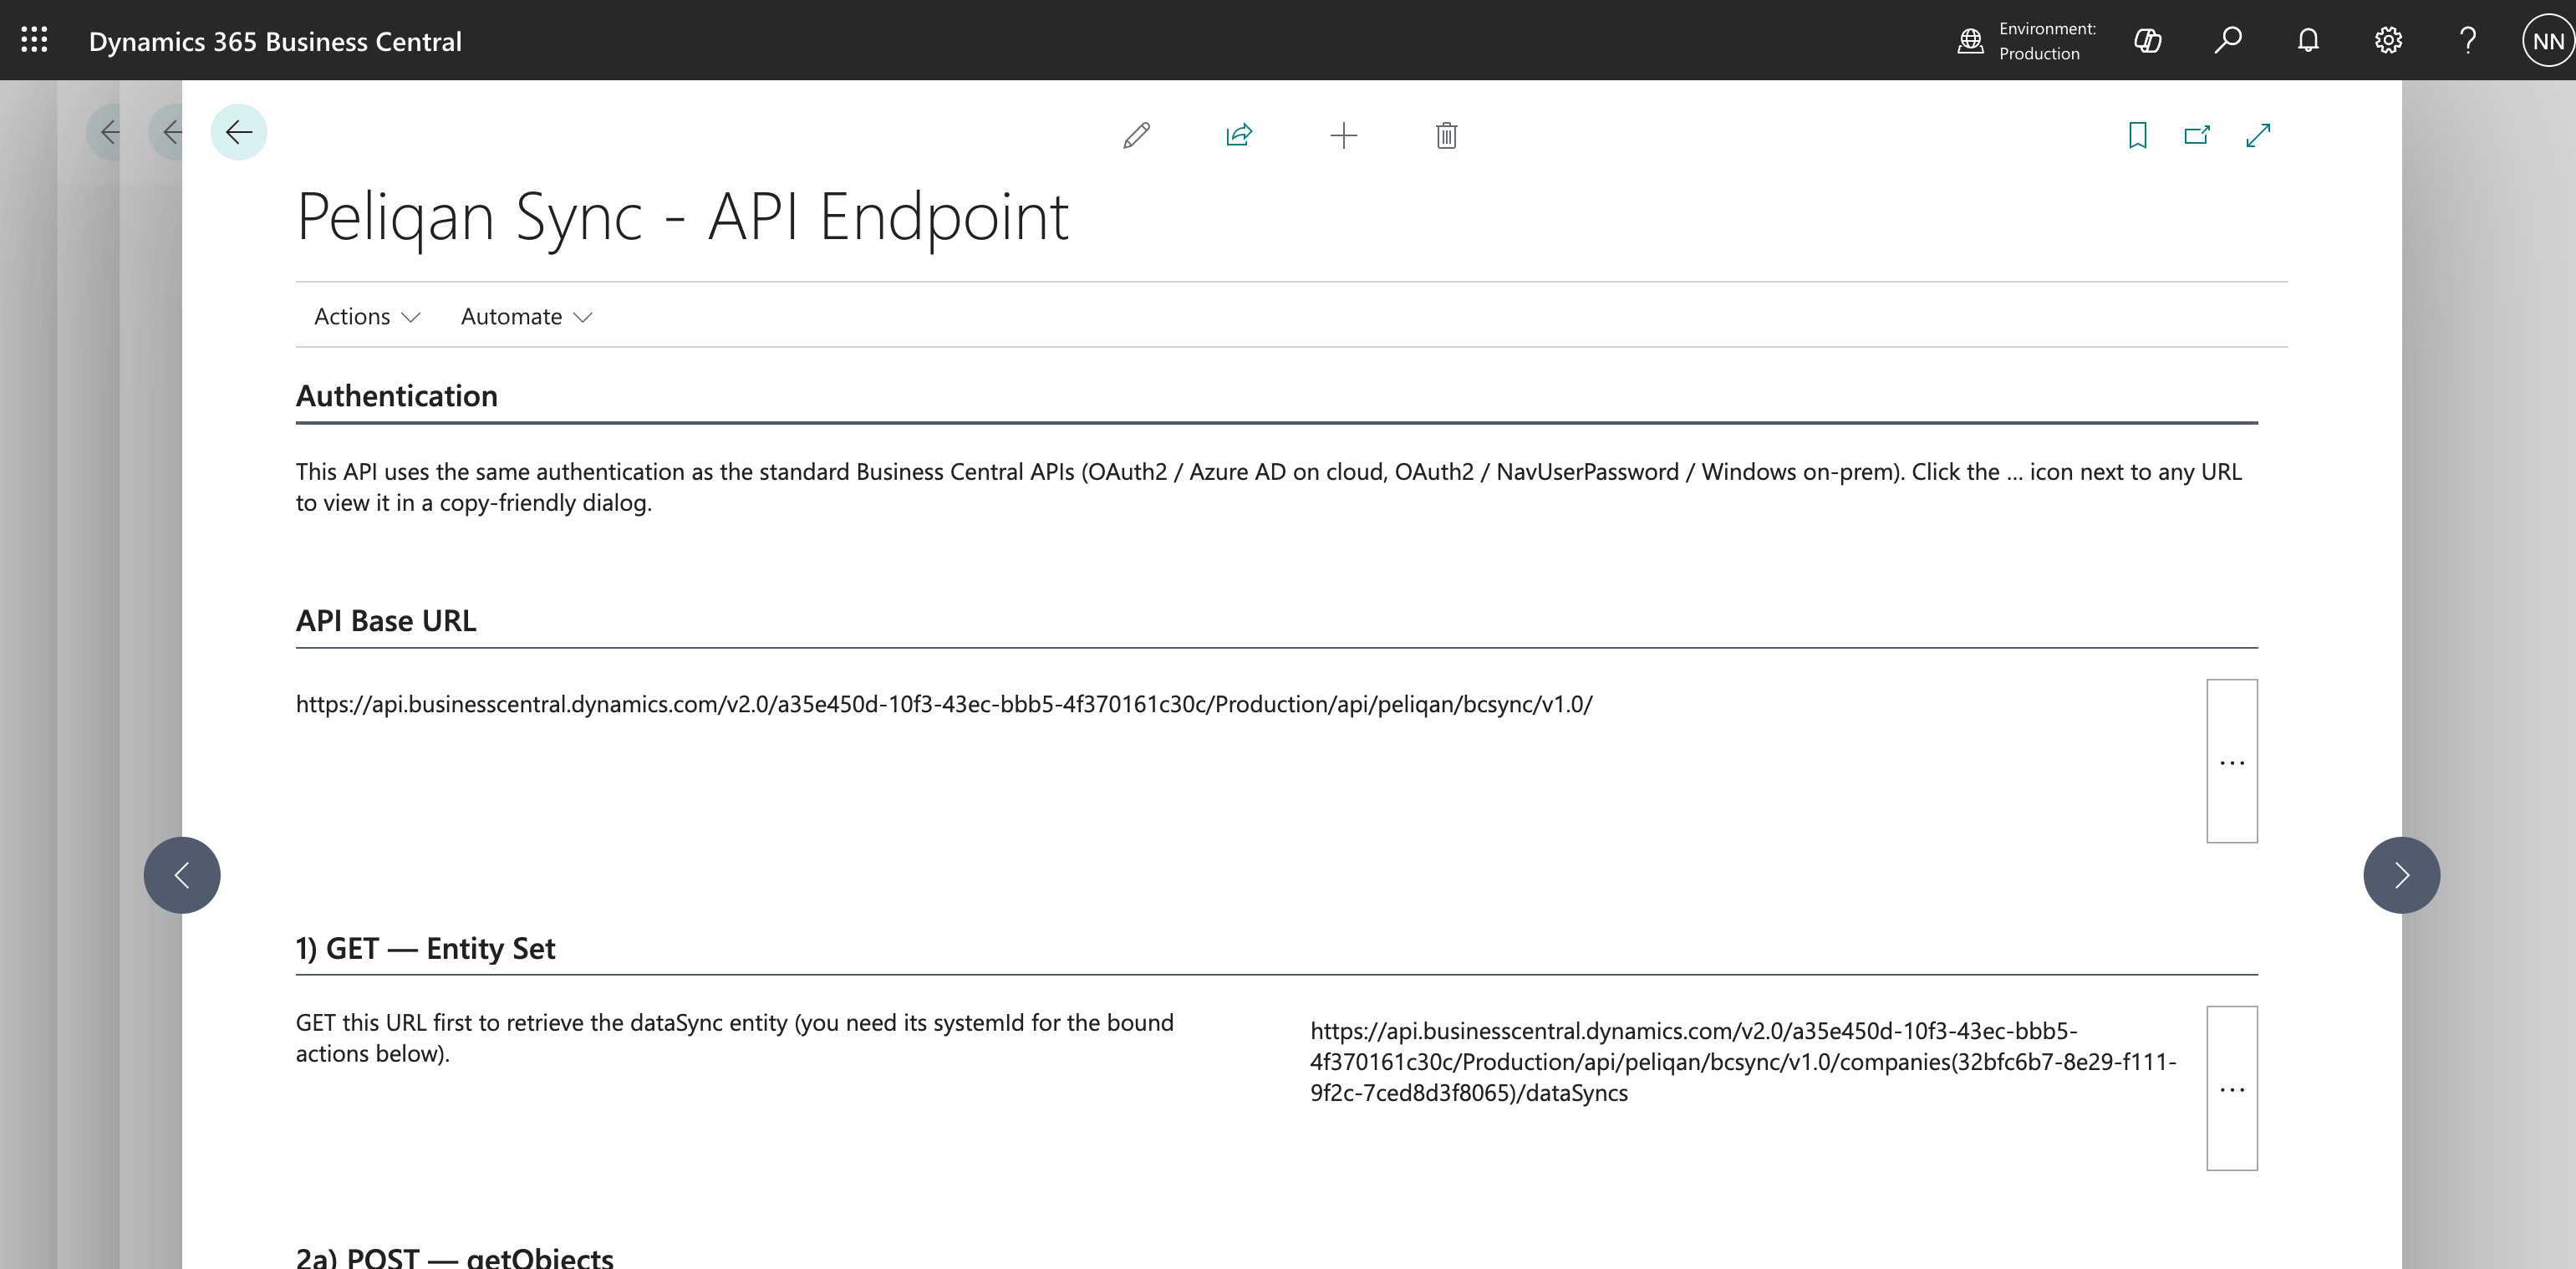
This will open the UI of the extension:

image

Scroll down to Connection details and copy the required settings:

image

Add a connection in Peliqan

In Peliqan, add a connection of type “MS Business Central (Peliqan extension)”. Enter the above details in the connection card:
image

Click on the “Add connection” button and authorize access (OAuth flow).

Once the connection is added, all data will be synced to the data warehouse.

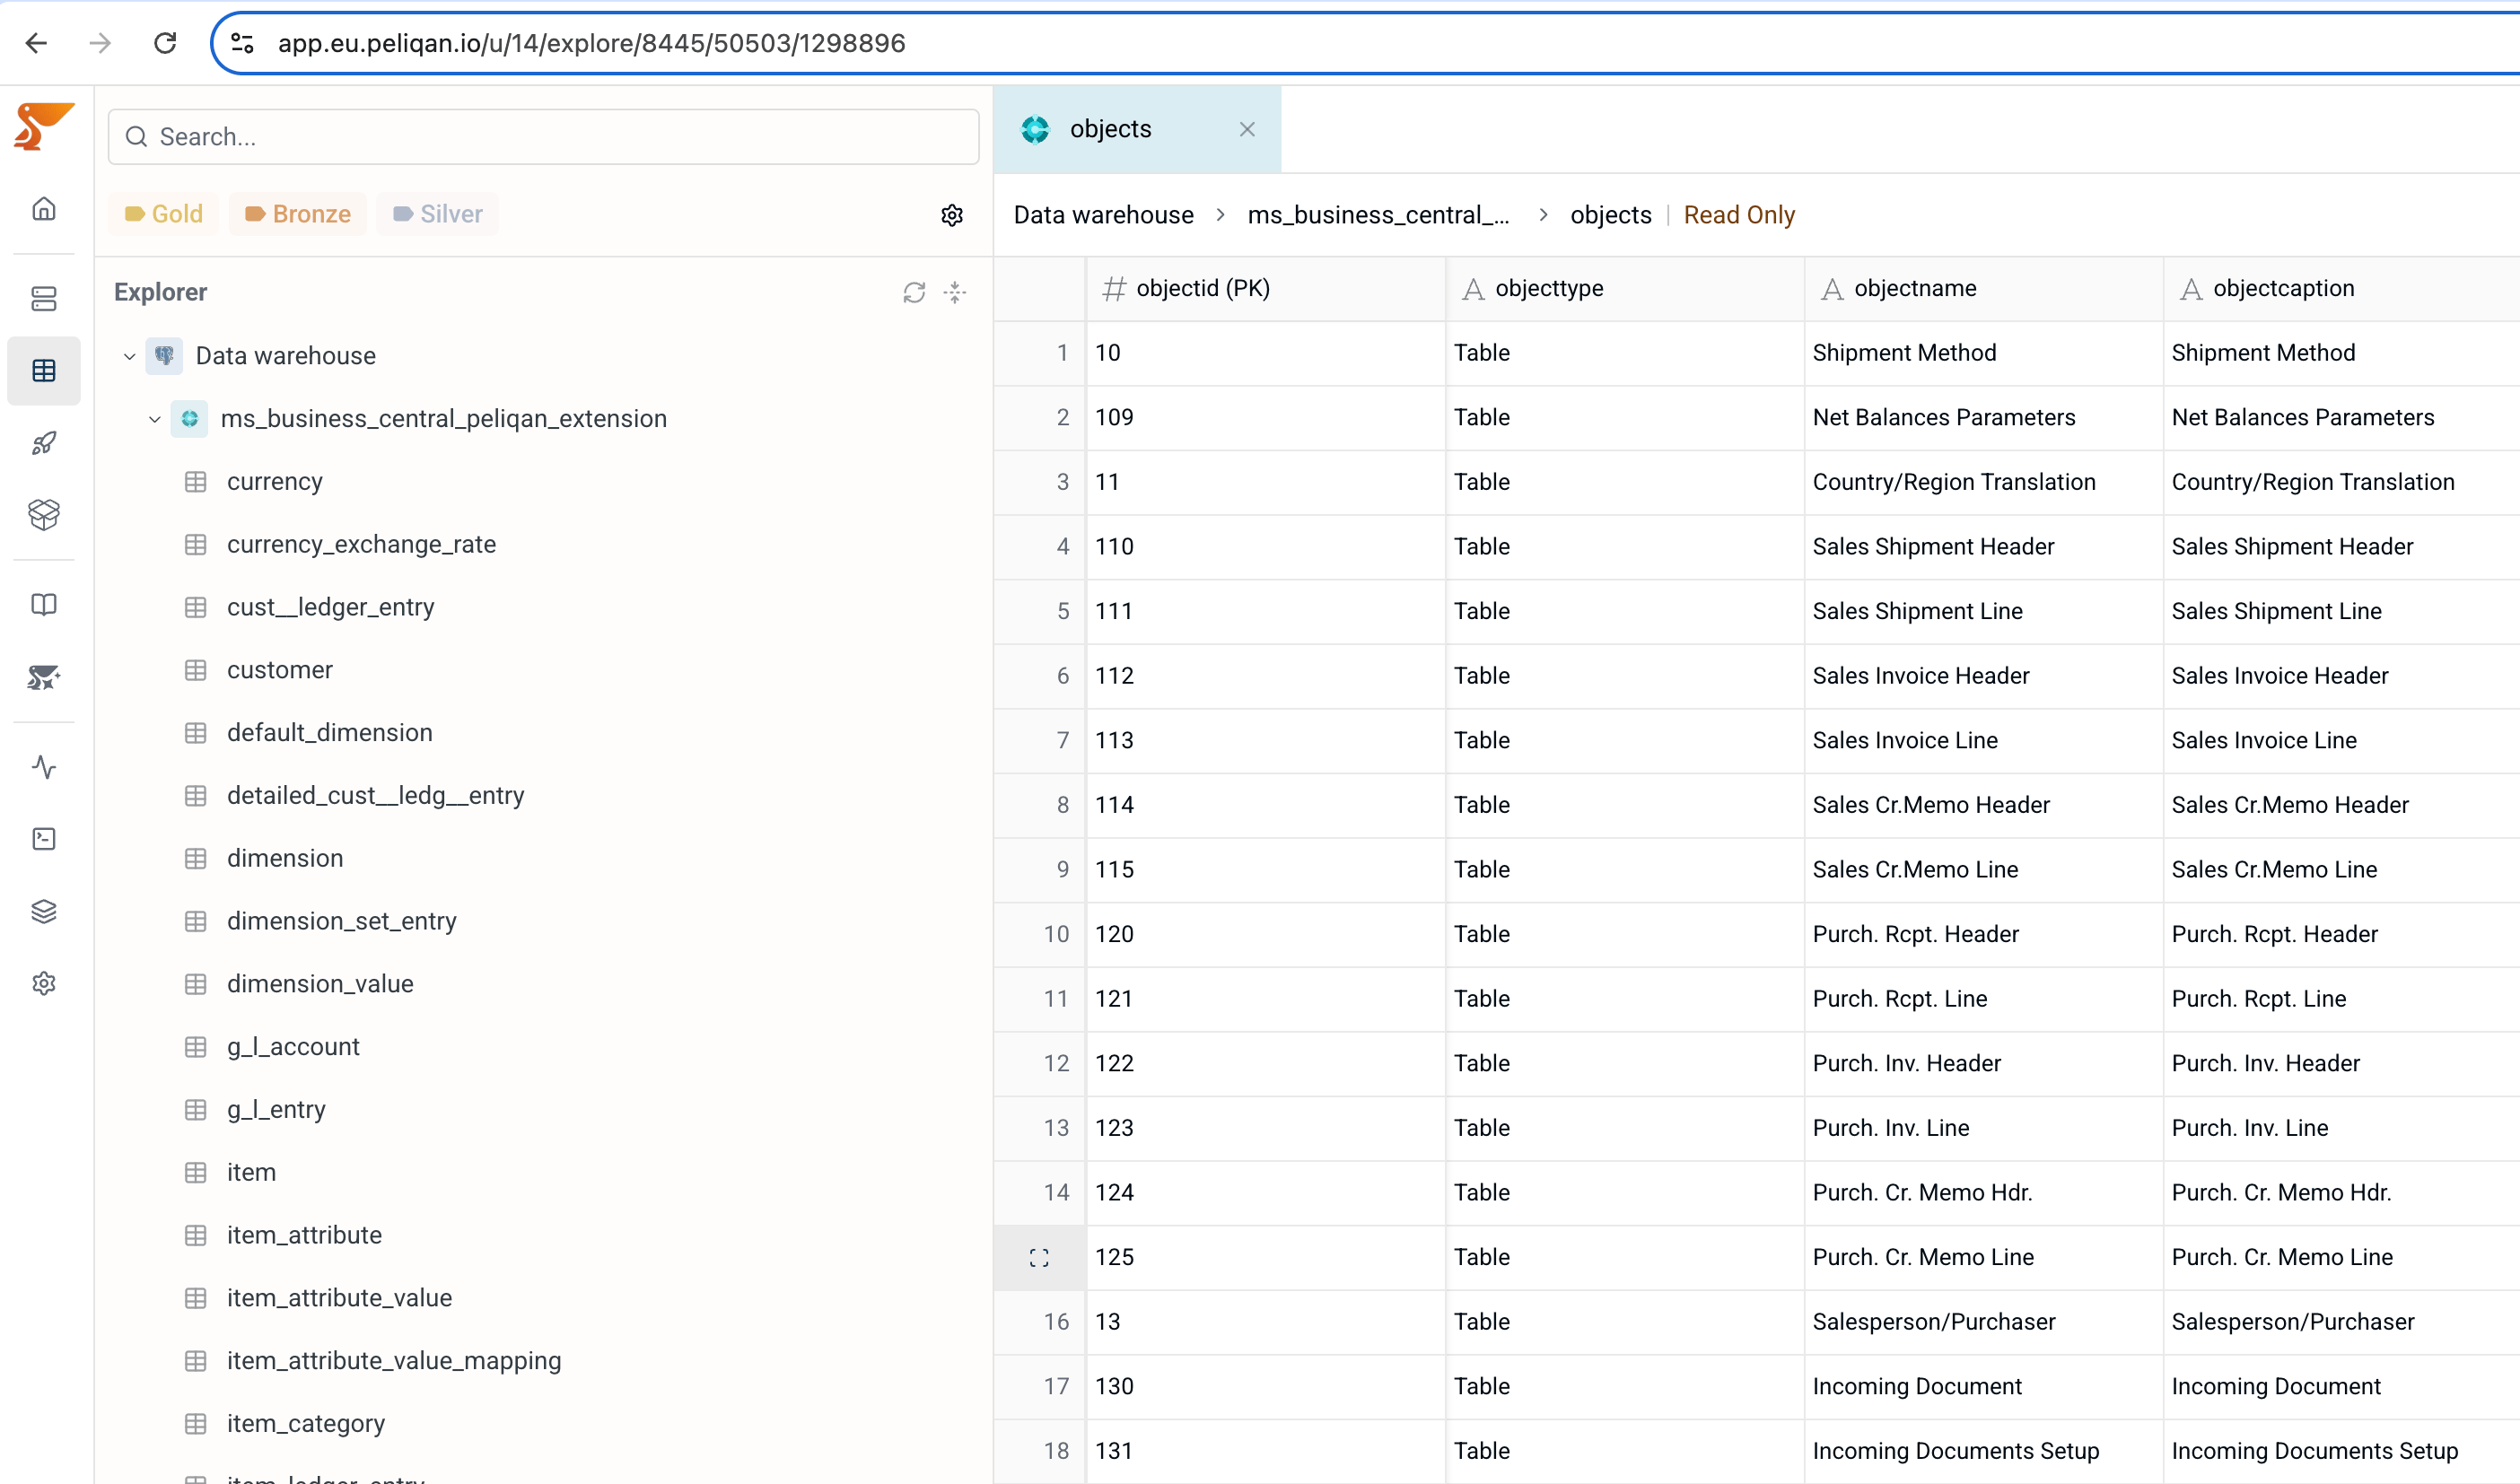
If you want to add more tables, check the table Objects for correct object names:

image

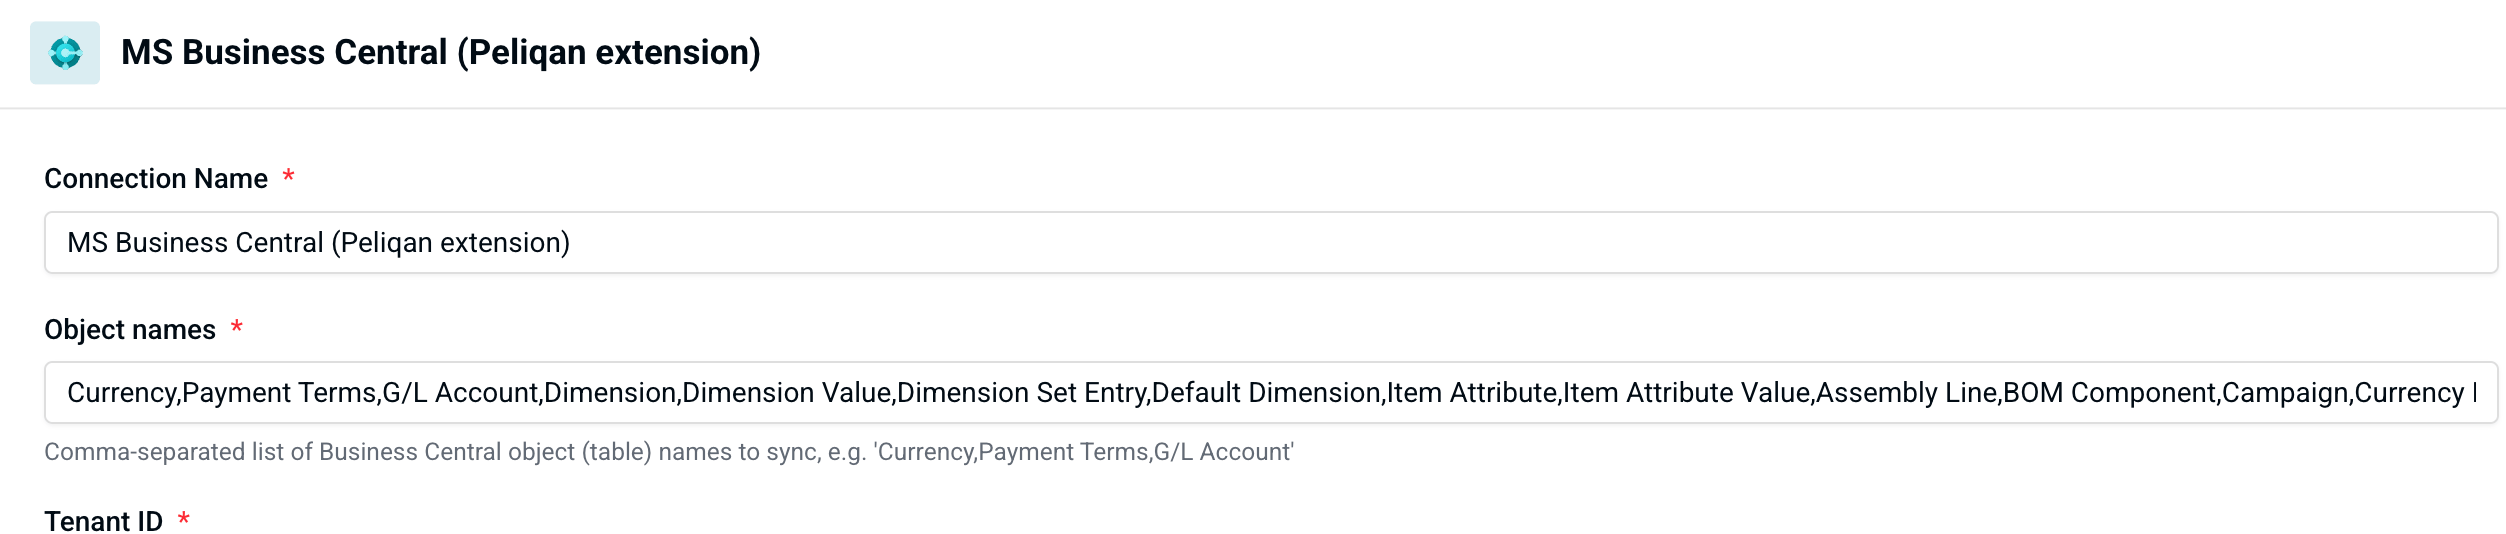
Use the object names from column objectname and add them in the connection card under “Object names” (comma separated list). Example:
image

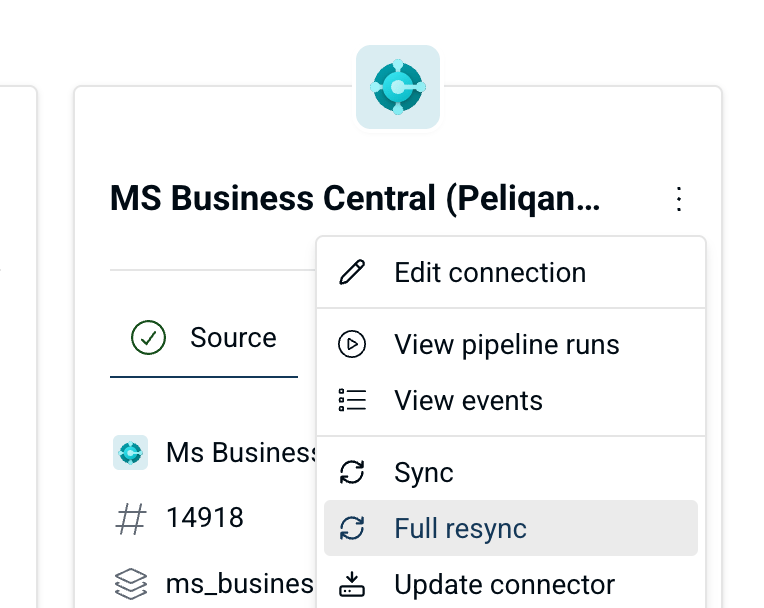
After updating this list, perform a Full Resync to make all the tables (including the newly selected objects) available.

image