> ## Documentation Index
> Fetch the complete documentation index at: https://help.peliqan.io/llms.txt
> Use this file to discover all available pages before exploring further.
# Shopify - Getting started in Peliqan
> Learn how to connect your Shopify store to Peliqan, sync e-commerce data to your data warehouse, and write back products, orders, and customers using Python.
Shopify is a leading cloud-based e-commerce platform that enables businesses of all sizes to create, customize, and manage online stores. Known for its ease of use and rich ecosystem of apps, Shopify helps merchants sell products, process payments, manage inventory, and streamline operations across multiple sales channels.
This article provides an overview to get started with the **Shopify** connector in **Peliqan**. Please [contact support](https://peliqan.io/contact) if you have any additional questions or remarks.
## Connect
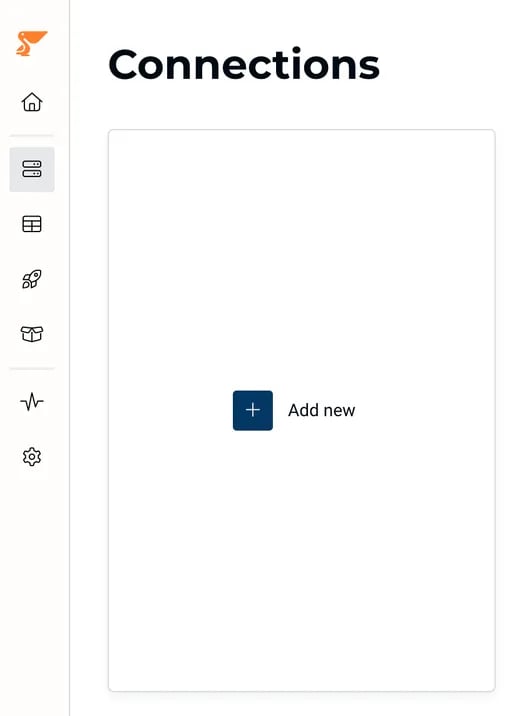
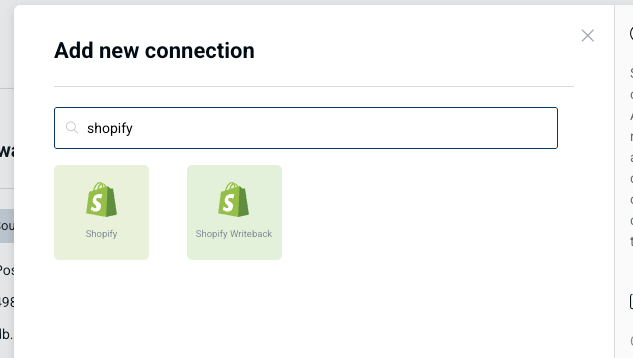
1. Search for the connection in the Add connections page
* For fetching data into tables, use the Shopify connector
* For writing back data into Shopify, also add the Shopify Writeback connector
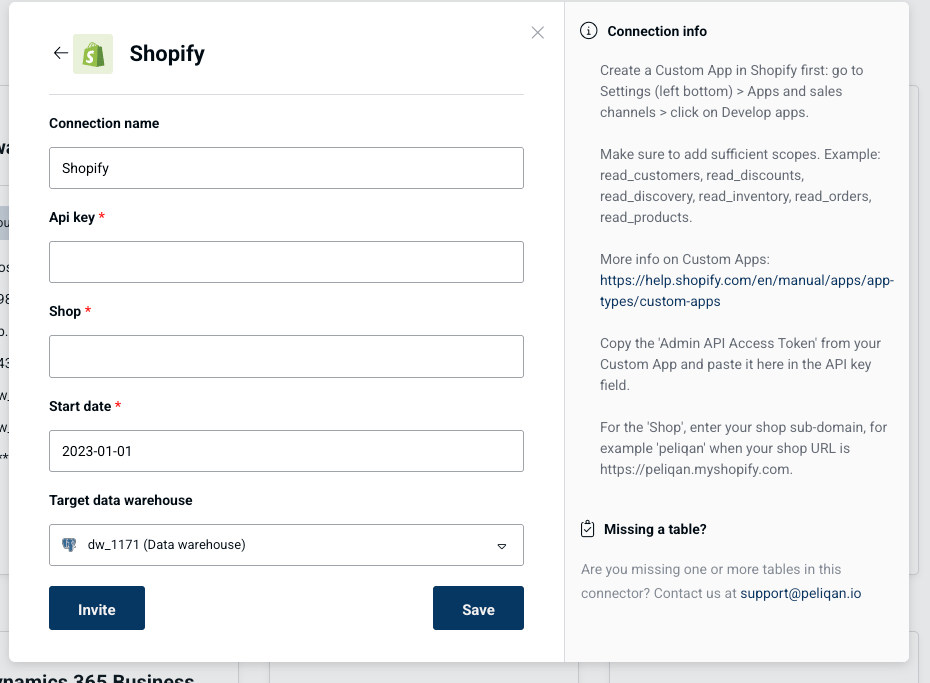
 2. Fill in the store name and Admin API access token. Save the connection.
 ## Explore
Wait a few minutes for the data to start syncing. Now you can view your **Shopify** data in tables in Peliqan's built-in data warehouse (or in your own DWH if you connected e.g. SQL Server, Snowflake, Redshift or BigQuery).
Select "Explore" in the left navigation pane, expand "Data warehouse" in the left tree and click on Shopify. All tables from Shopify will now be shown.
## Explore
Wait a few minutes for the data to start syncing. Now you can view your **Shopify** data in tables in Peliqan's built-in data warehouse (or in your own DWH if you connected e.g. SQL Server, Snowflake, Redshift or BigQuery).
Select "Explore" in the left navigation pane, expand "Data warehouse" in the left tree and click on Shopify. All tables from Shopify will now be shown.
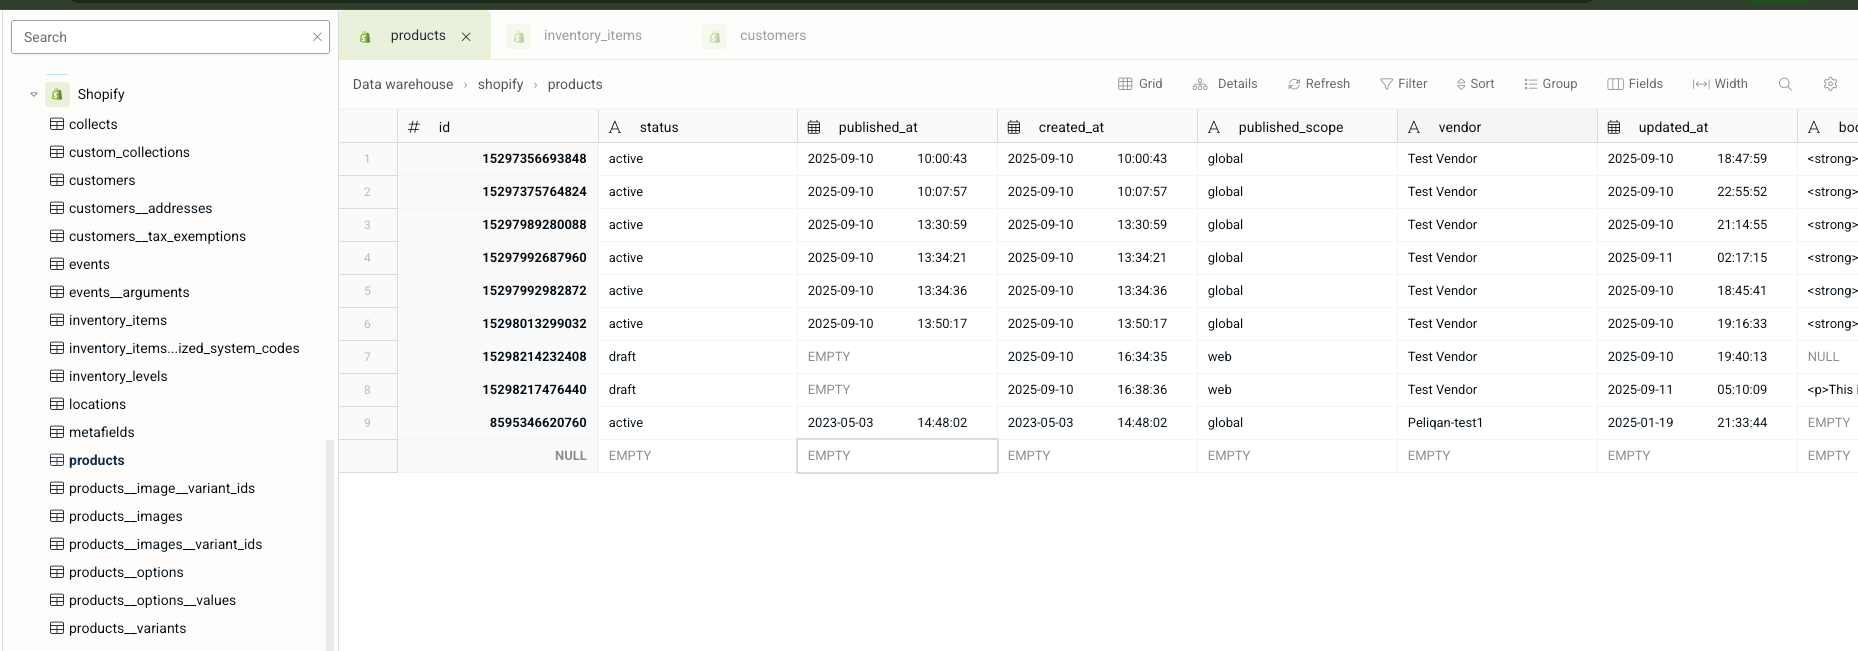 You can explore the data in the grid view, and you can write SQL queries to transform the data and to combine the data from Shopify with data from other sources.
## Activate
You can use Peliqan's low-code Python scripts to interact with Shopify using the Shopify API. With a single line of code, you can for example add or update a product, order or customer in Shopify.
1. Add Shopify Writeback connector and fill in the API Token
When creating the token in Shopify, ensure you add sufficient write scopes to the objects you wish to create/update with Peliqan
You can explore the data in the grid view, and you can write SQL queries to transform the data and to combine the data from Shopify with data from other sources.
## Activate
You can use Peliqan's low-code Python scripts to interact with Shopify using the Shopify API. With a single line of code, you can for example add or update a product, order or customer in Shopify.
1. Add Shopify Writeback connector and fill in the API Token
When creating the token in Shopify, ensure you add sufficient write scopes to the objects you wish to create/update with Peliqan
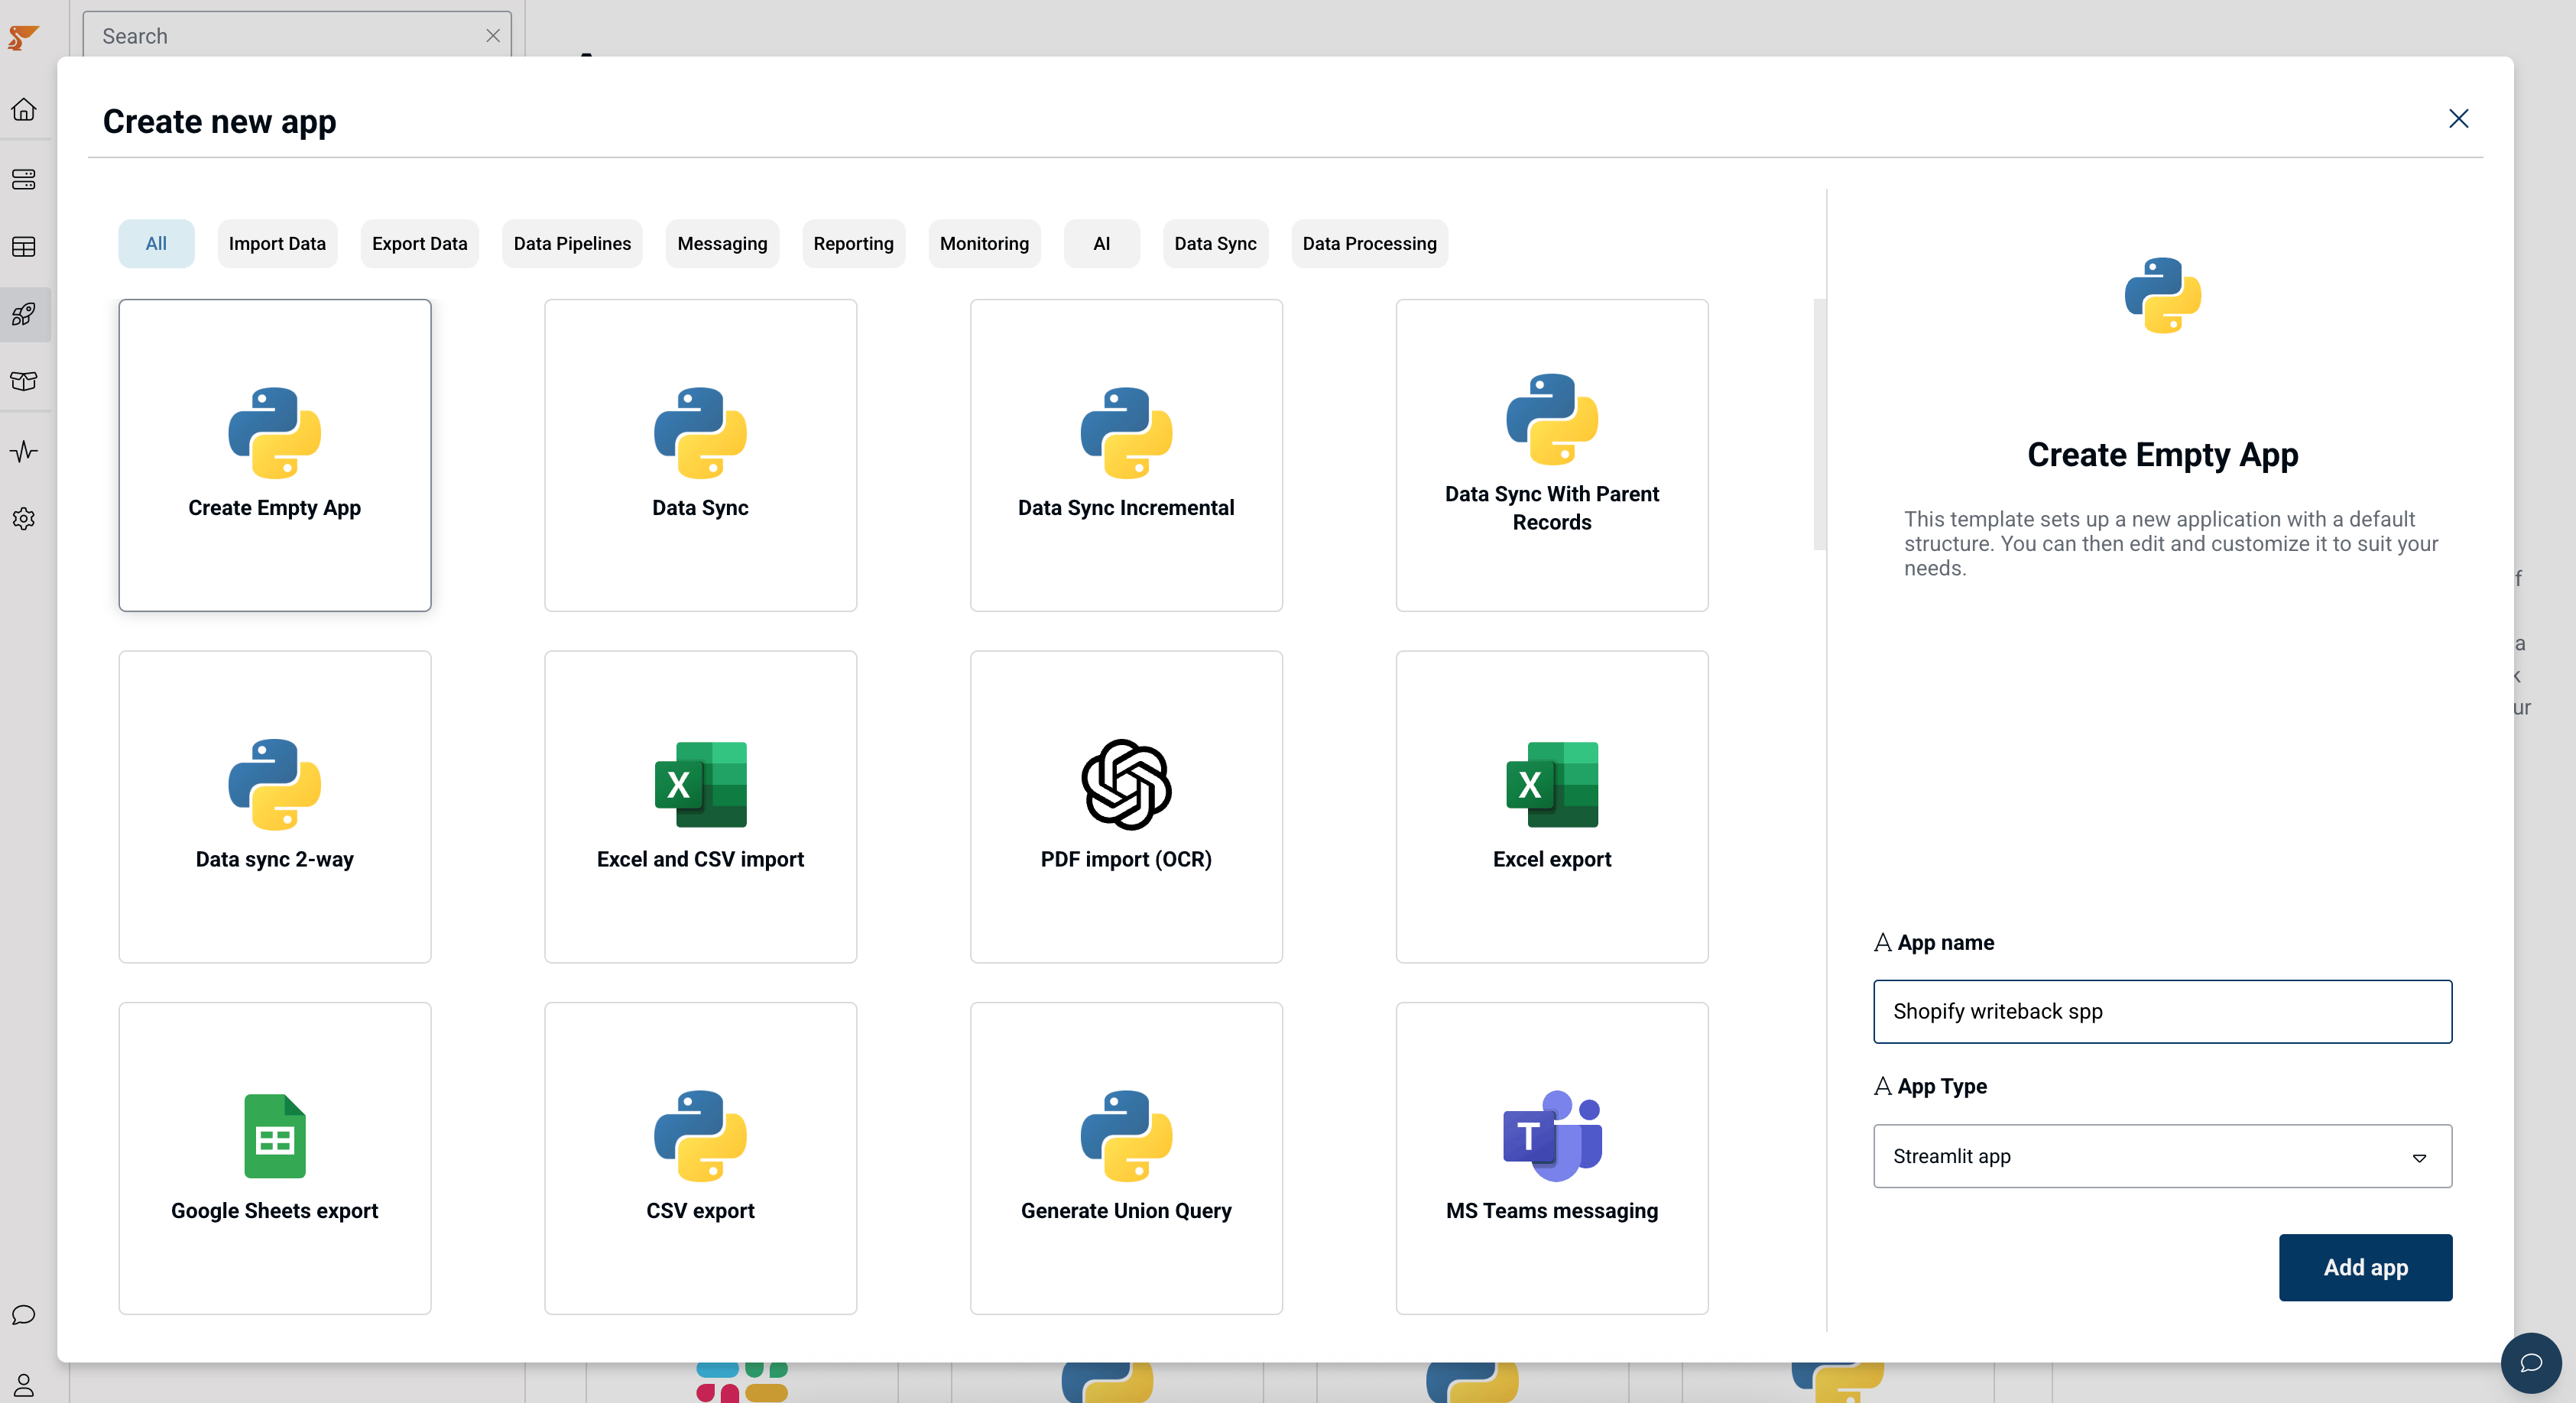
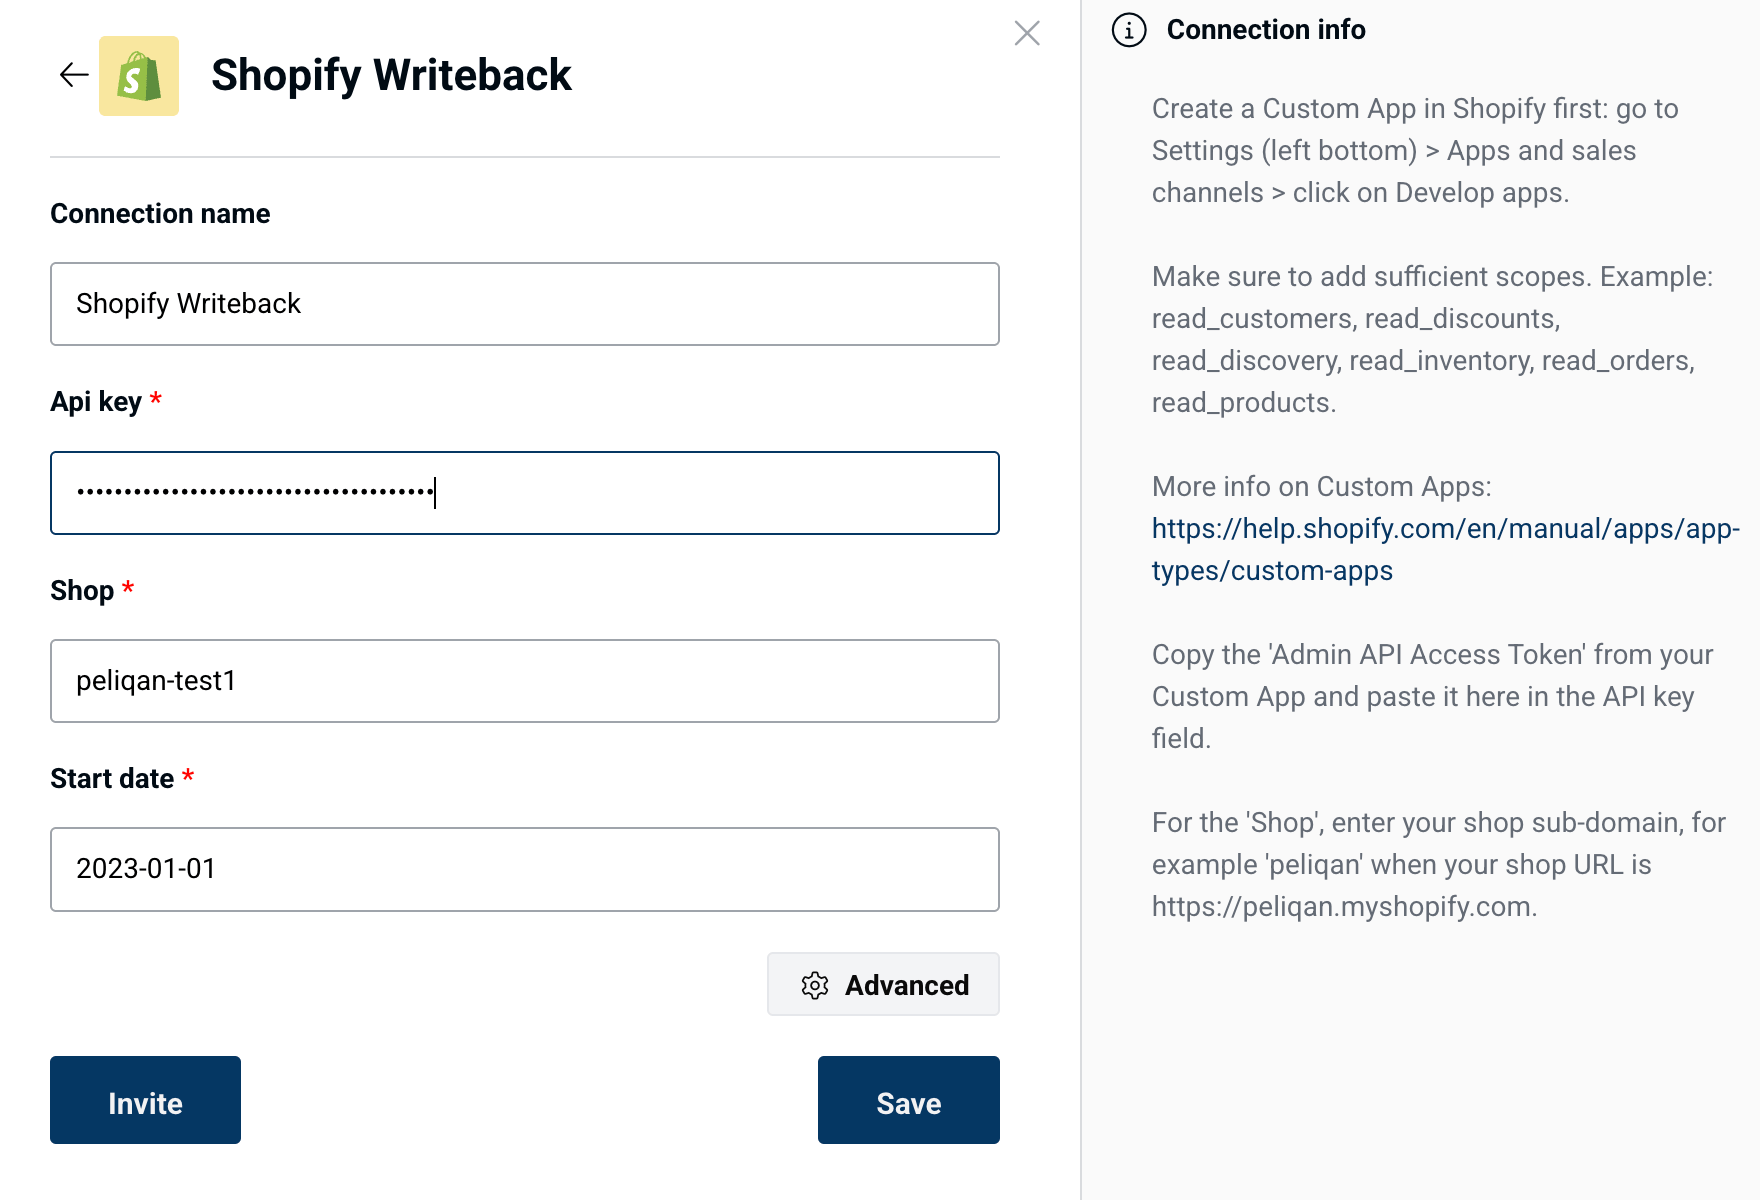 2. Create a Data App
 3. Click Add object in the right panel, after searching for Shopify
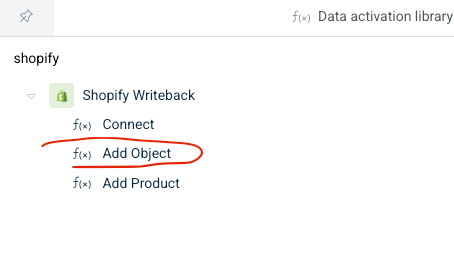 * Add object is a generic endpoint to add any entity (products, customers, orders etc).
* Add product is a specific endpoint to add products.
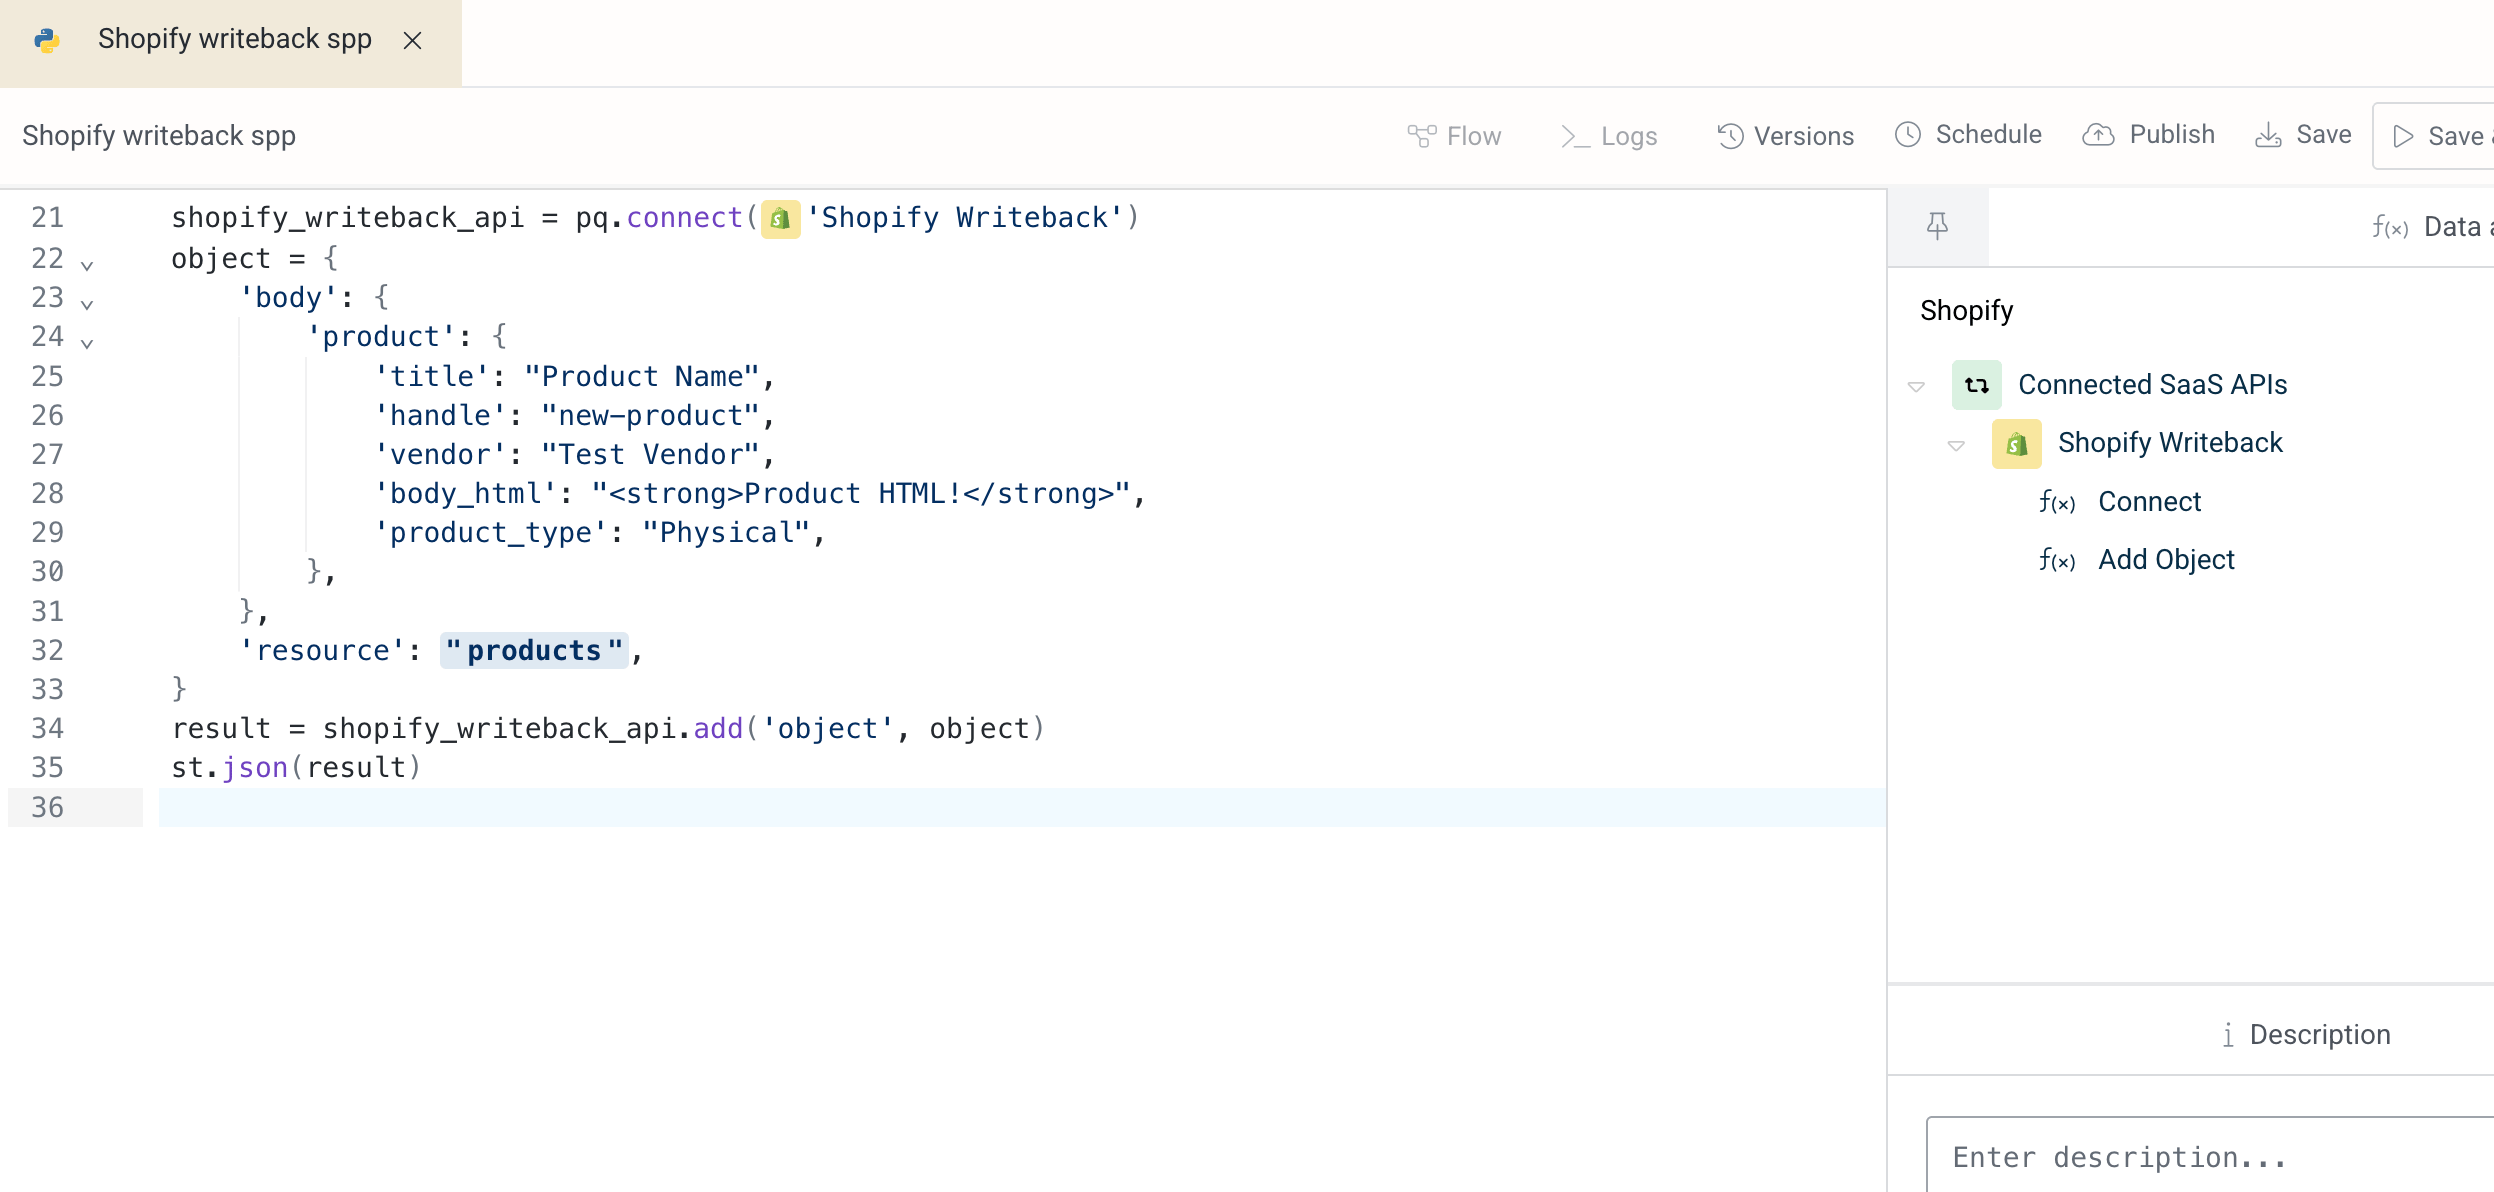
4. This adds sample code in your script, to add a Product in Shopify (using the generic object endpoint).
### REST API based mutations
The sample code is based on the rest api as per [https://shopify.dev/docs/api/admin-rest](https://shopify.dev/docs/api/admin-rest) The `resource` field in this case is `products` corresponding to `products.json` in the api request.
* Add object is a generic endpoint to add any entity (products, customers, orders etc).
* Add product is a specific endpoint to add products.
4. This adds sample code in your script, to add a Product in Shopify (using the generic object endpoint).
### REST API based mutations
The sample code is based on the rest api as per [https://shopify.dev/docs/api/admin-rest](https://shopify.dev/docs/api/admin-rest) The `resource` field in this case is `products` corresponding to `products.json` in the api request.
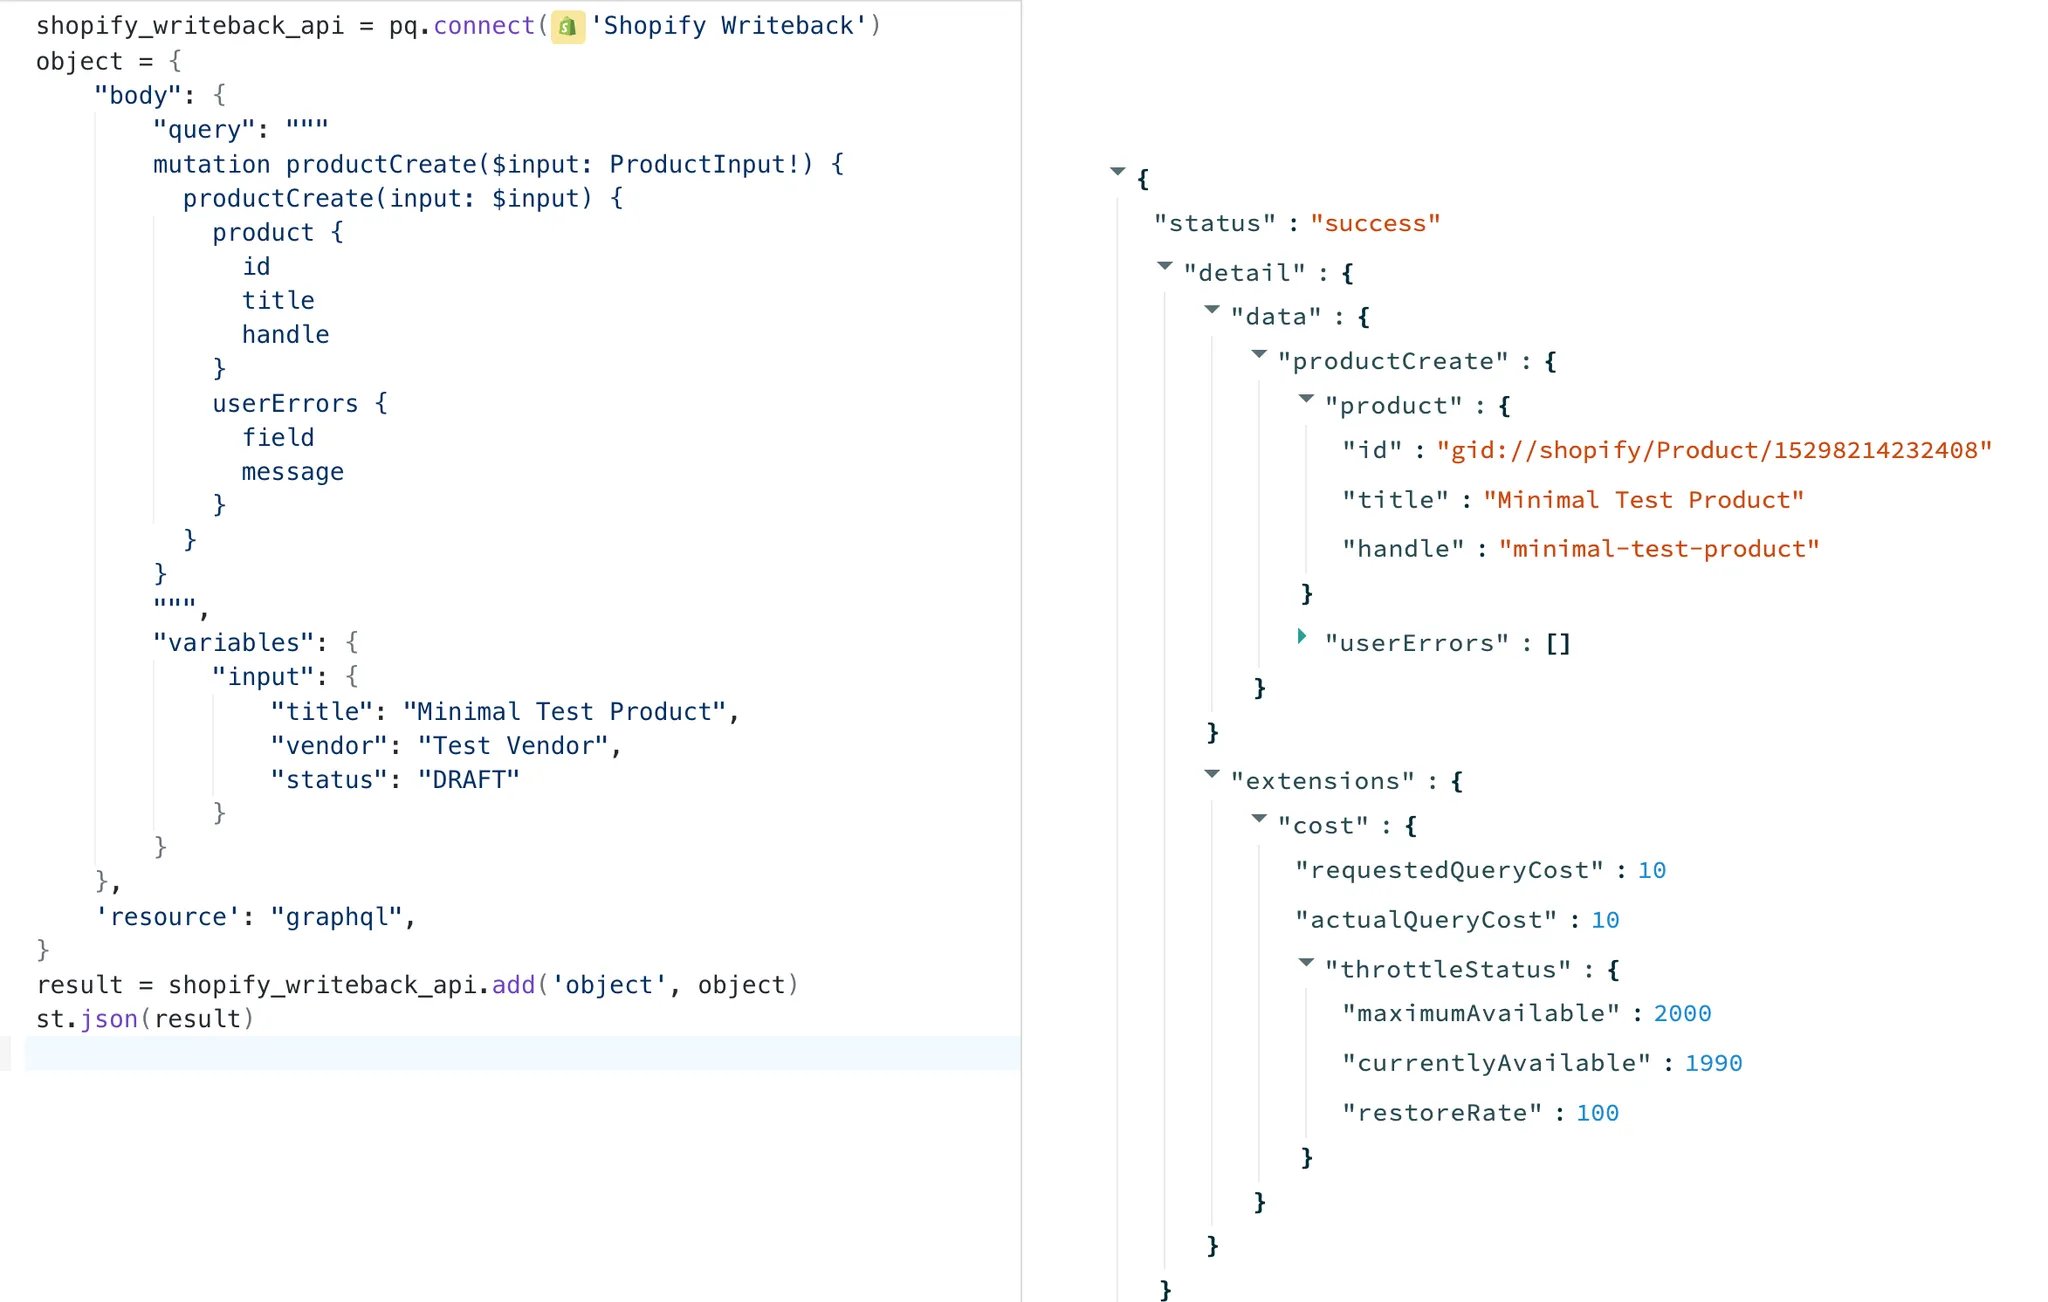
 ### Alternatively use advanced GraphQL based mutations
The `resource` field in this case should be made to **`graphqlgraphql`** corresponding to `graphql.json` in the api request.
The GraphQL query comes inside the `body` just as per the [GraphQL api docs](https://shopify.dev/docs/api/admin-graphql).
This mode can be used to perform **any kind of operation** (add/update/delete) using the appropriate GraphQL mutations.
### Alternatively use advanced GraphQL based mutations
The `resource` field in this case should be made to **`graphqlgraphql`** corresponding to `graphql.json` in the api request.
The GraphQL query comes inside the `body` just as per the [GraphQL api docs](https://shopify.dev/docs/api/admin-graphql).
This mode can be used to perform **any kind of operation** (add/update/delete) using the appropriate GraphQL mutations.
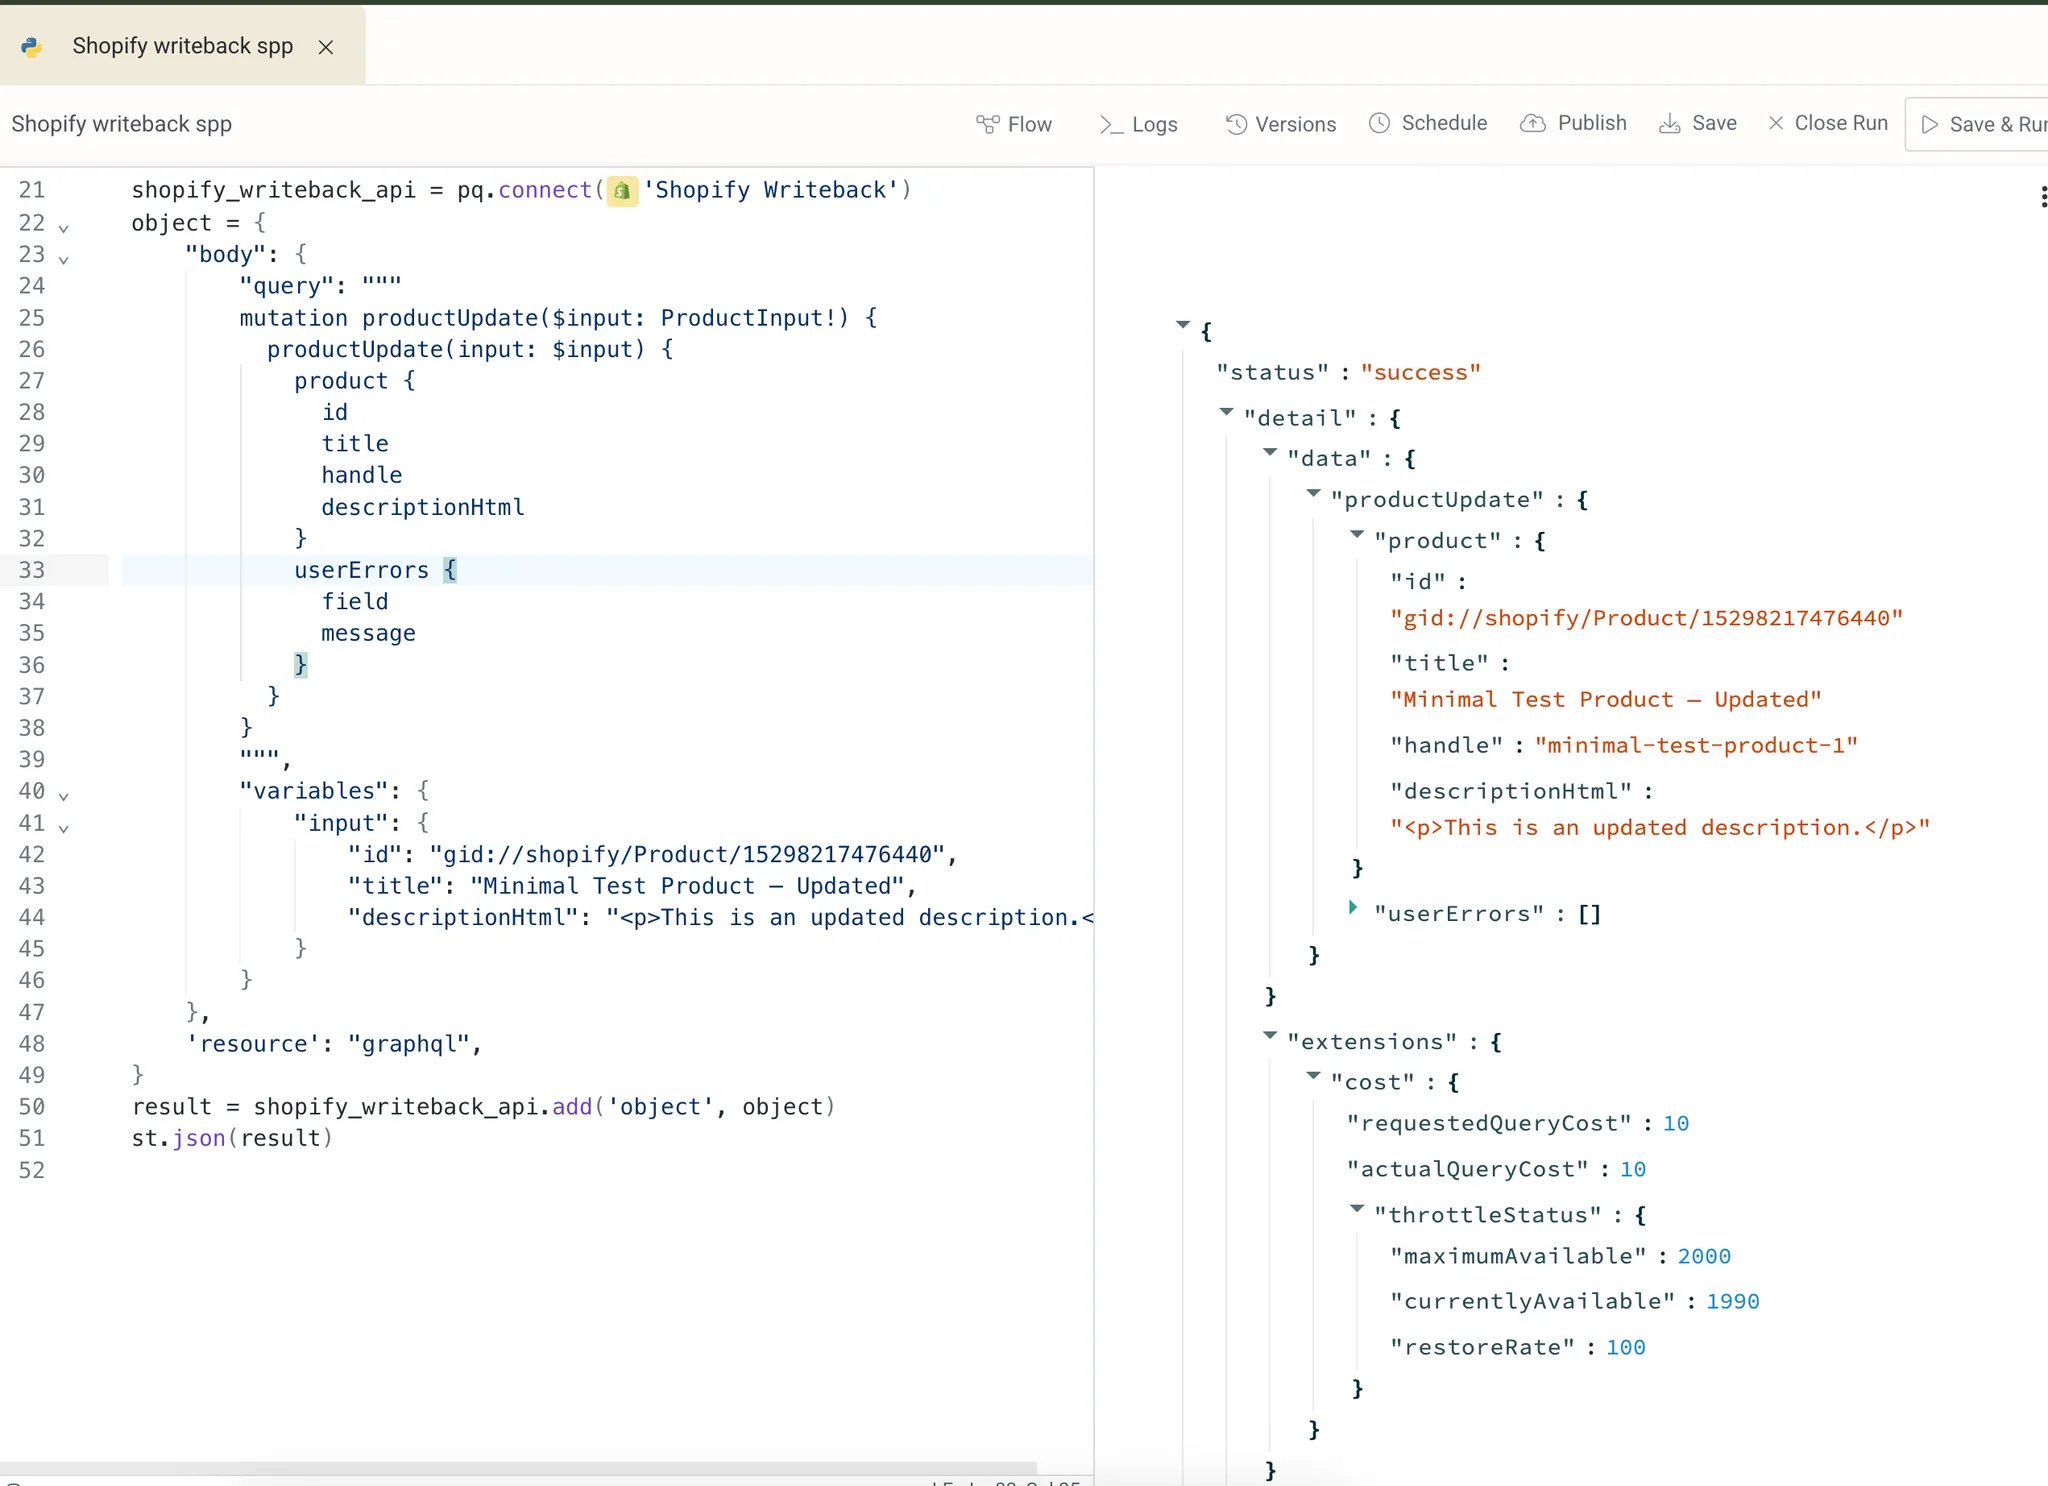
 Example of `update` mutation:
 This documentation is built and hosted on [Mintlify](https://mintlify.com), a developer documentation platform.