> ## Documentation Index
> Fetch the complete documentation index at: https://help.peliqan.io/llms.txt
> Use this file to discover all available pages before exploring further.
# Facebook Ads - Getting started in Peliqan
> Create a Meta developer app and system user token, then connect Facebook Ads to Peliqan to sync campaign and ad performance data into your data warehouse.
This article provides an overview to get started with the **Facebook Ads** connector in **Peliqan**. Please [contact support](https://peliqan.io/contact) if you have any additional questions or remarks.
# How to connect Facebook Ads in Peliqan
### Step 1: Create a Meta Developer Account
1. Go to [https://developers.facebook.com](https://developers.facebook.com/)
2. Log in with your Facebook account.
3. Accept the Meta Developer Terms and set up your Developer profile
### Step 2: Create a New App
1. In the top-right corner, click **"My Apps" > "Create App"**.
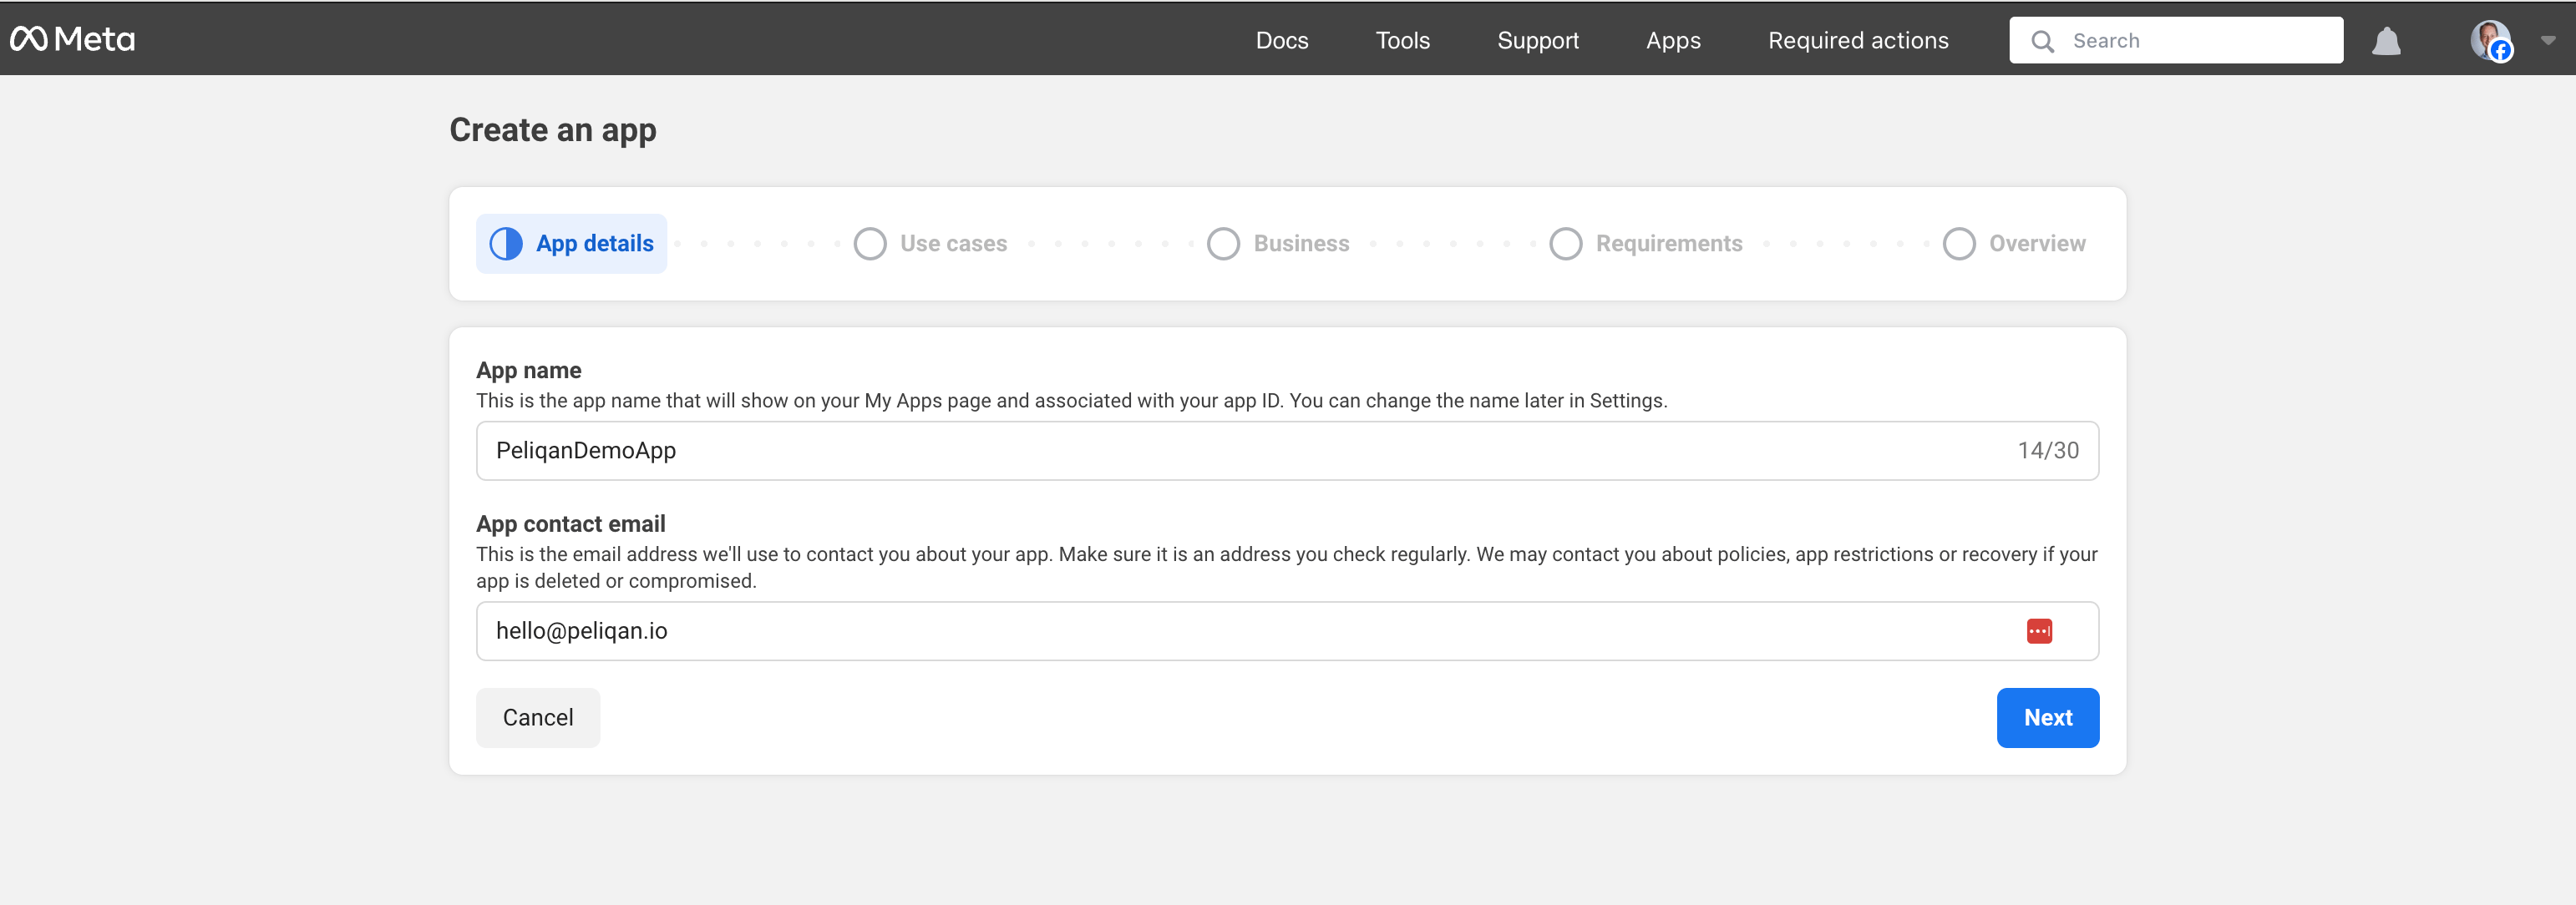
2. Enter the app name and your contact email:
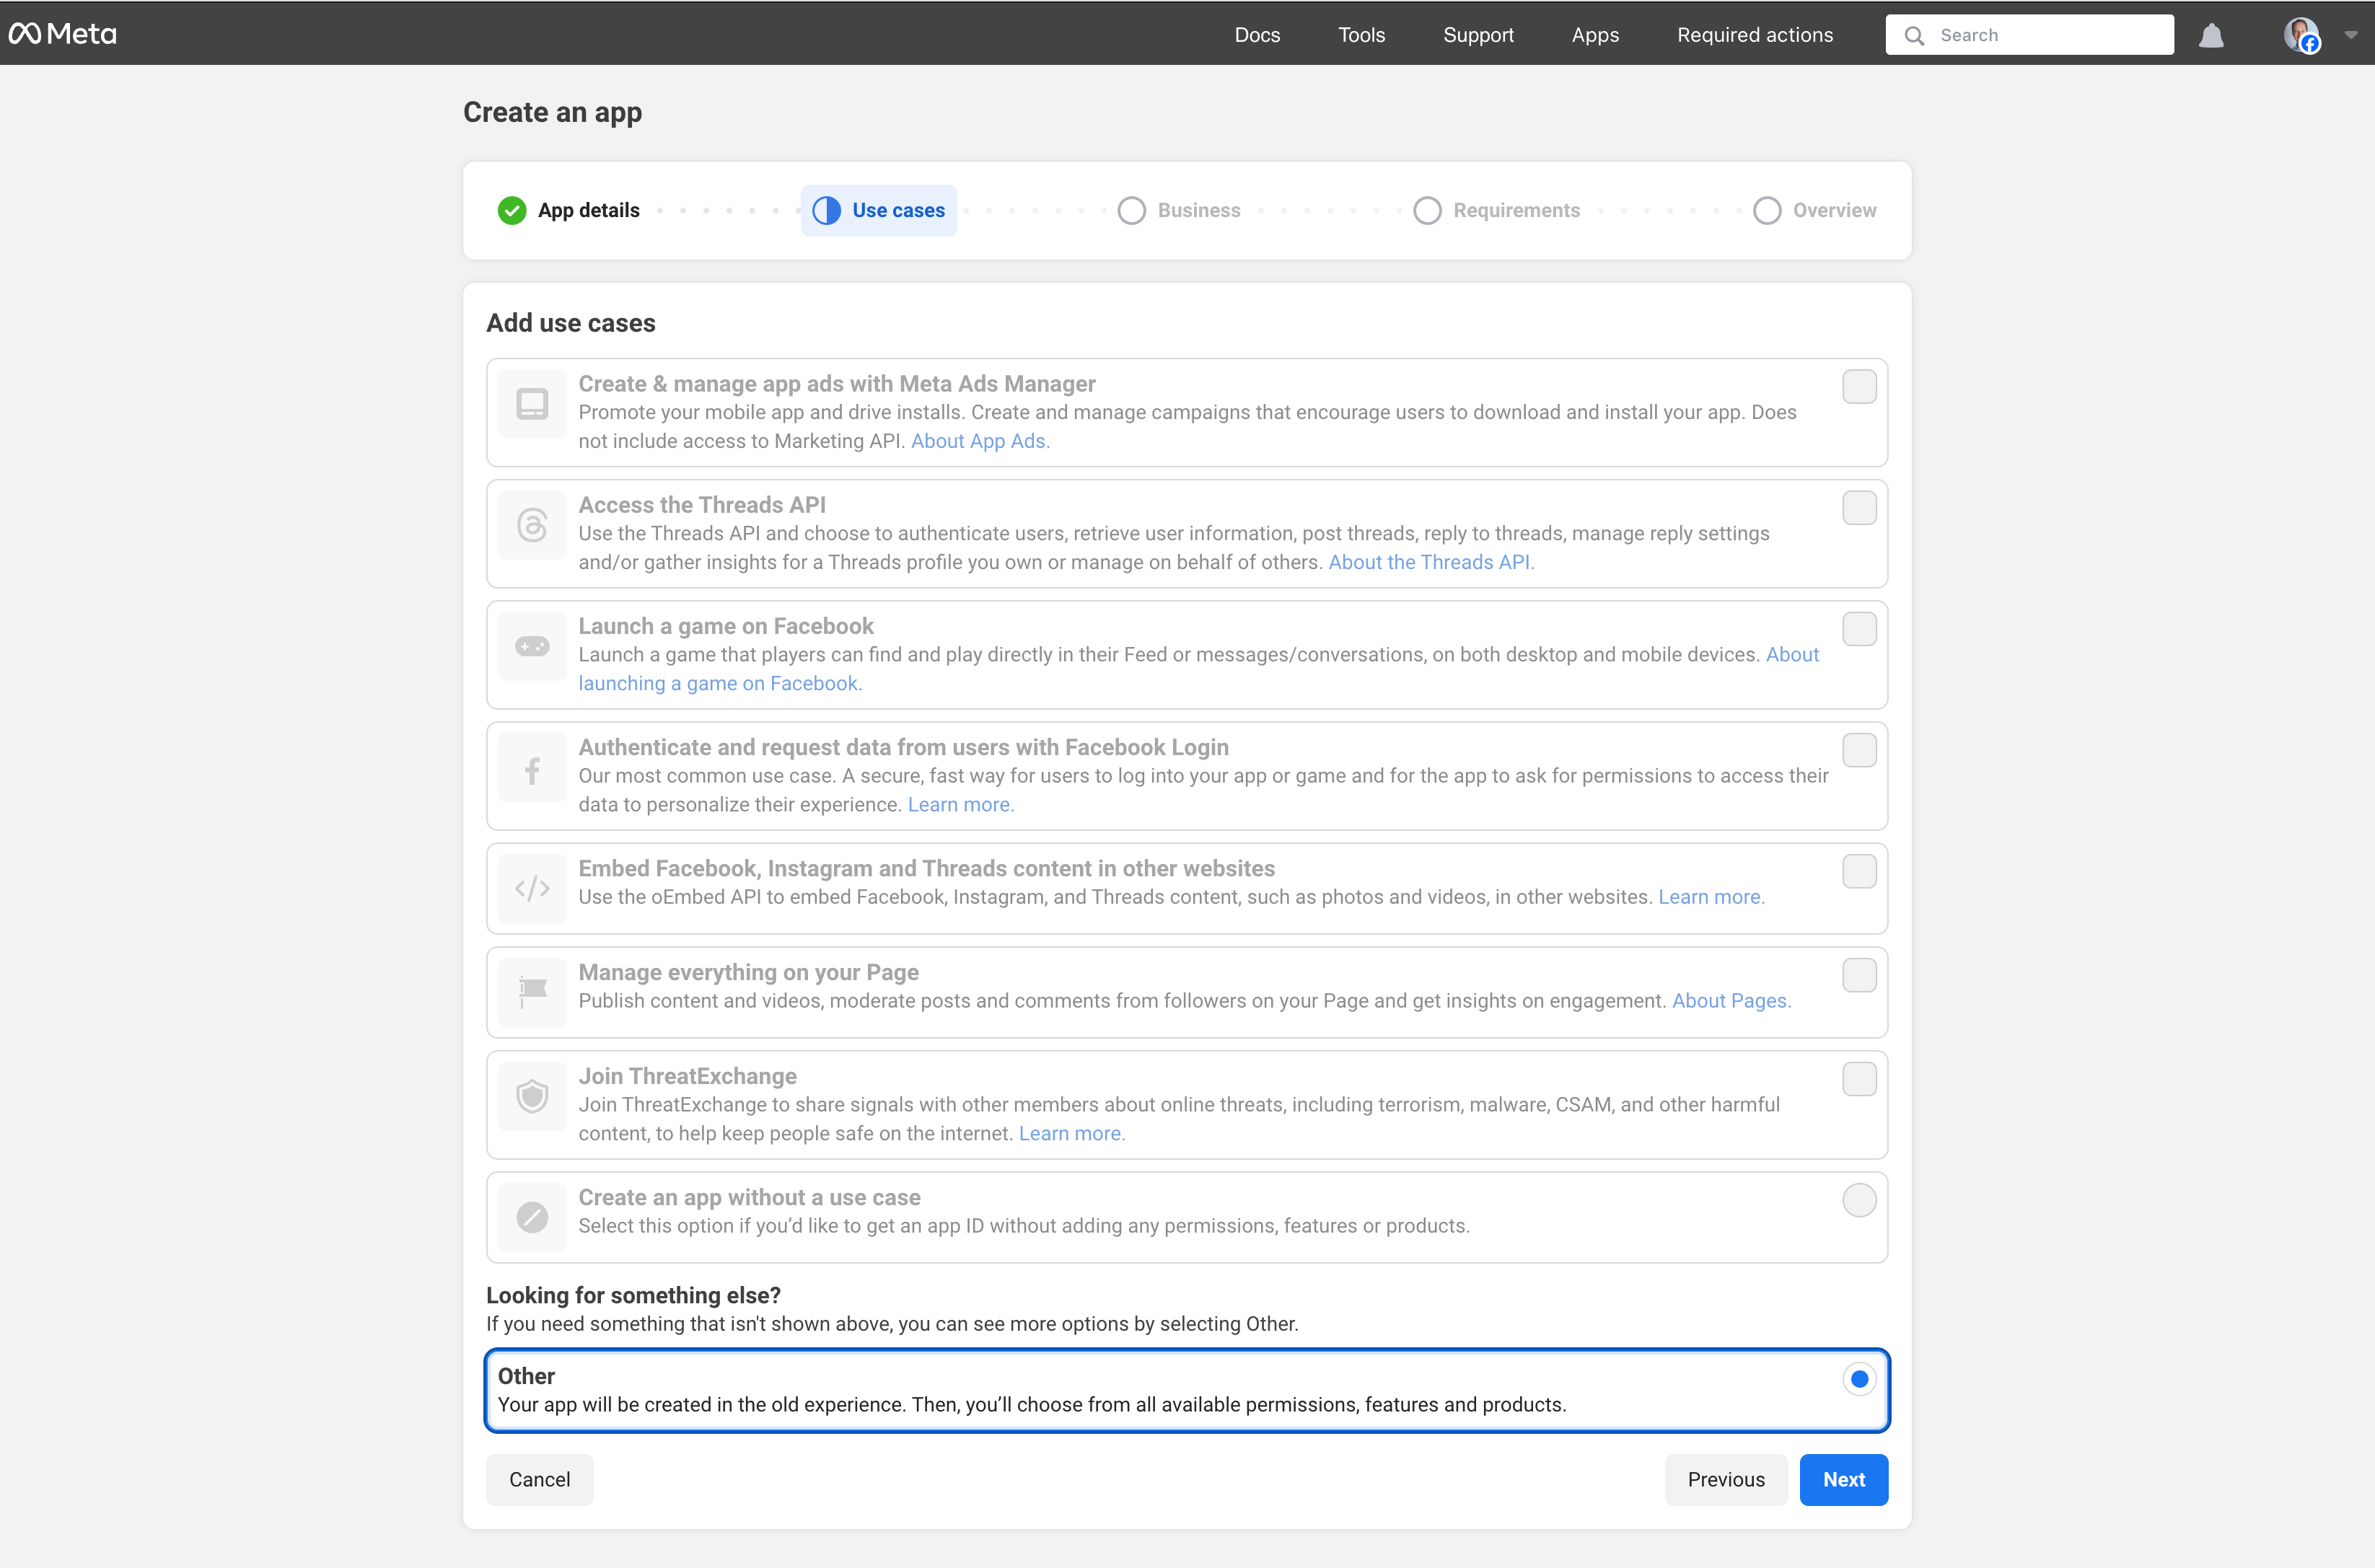
 3. Select **"Other"** as the use case:
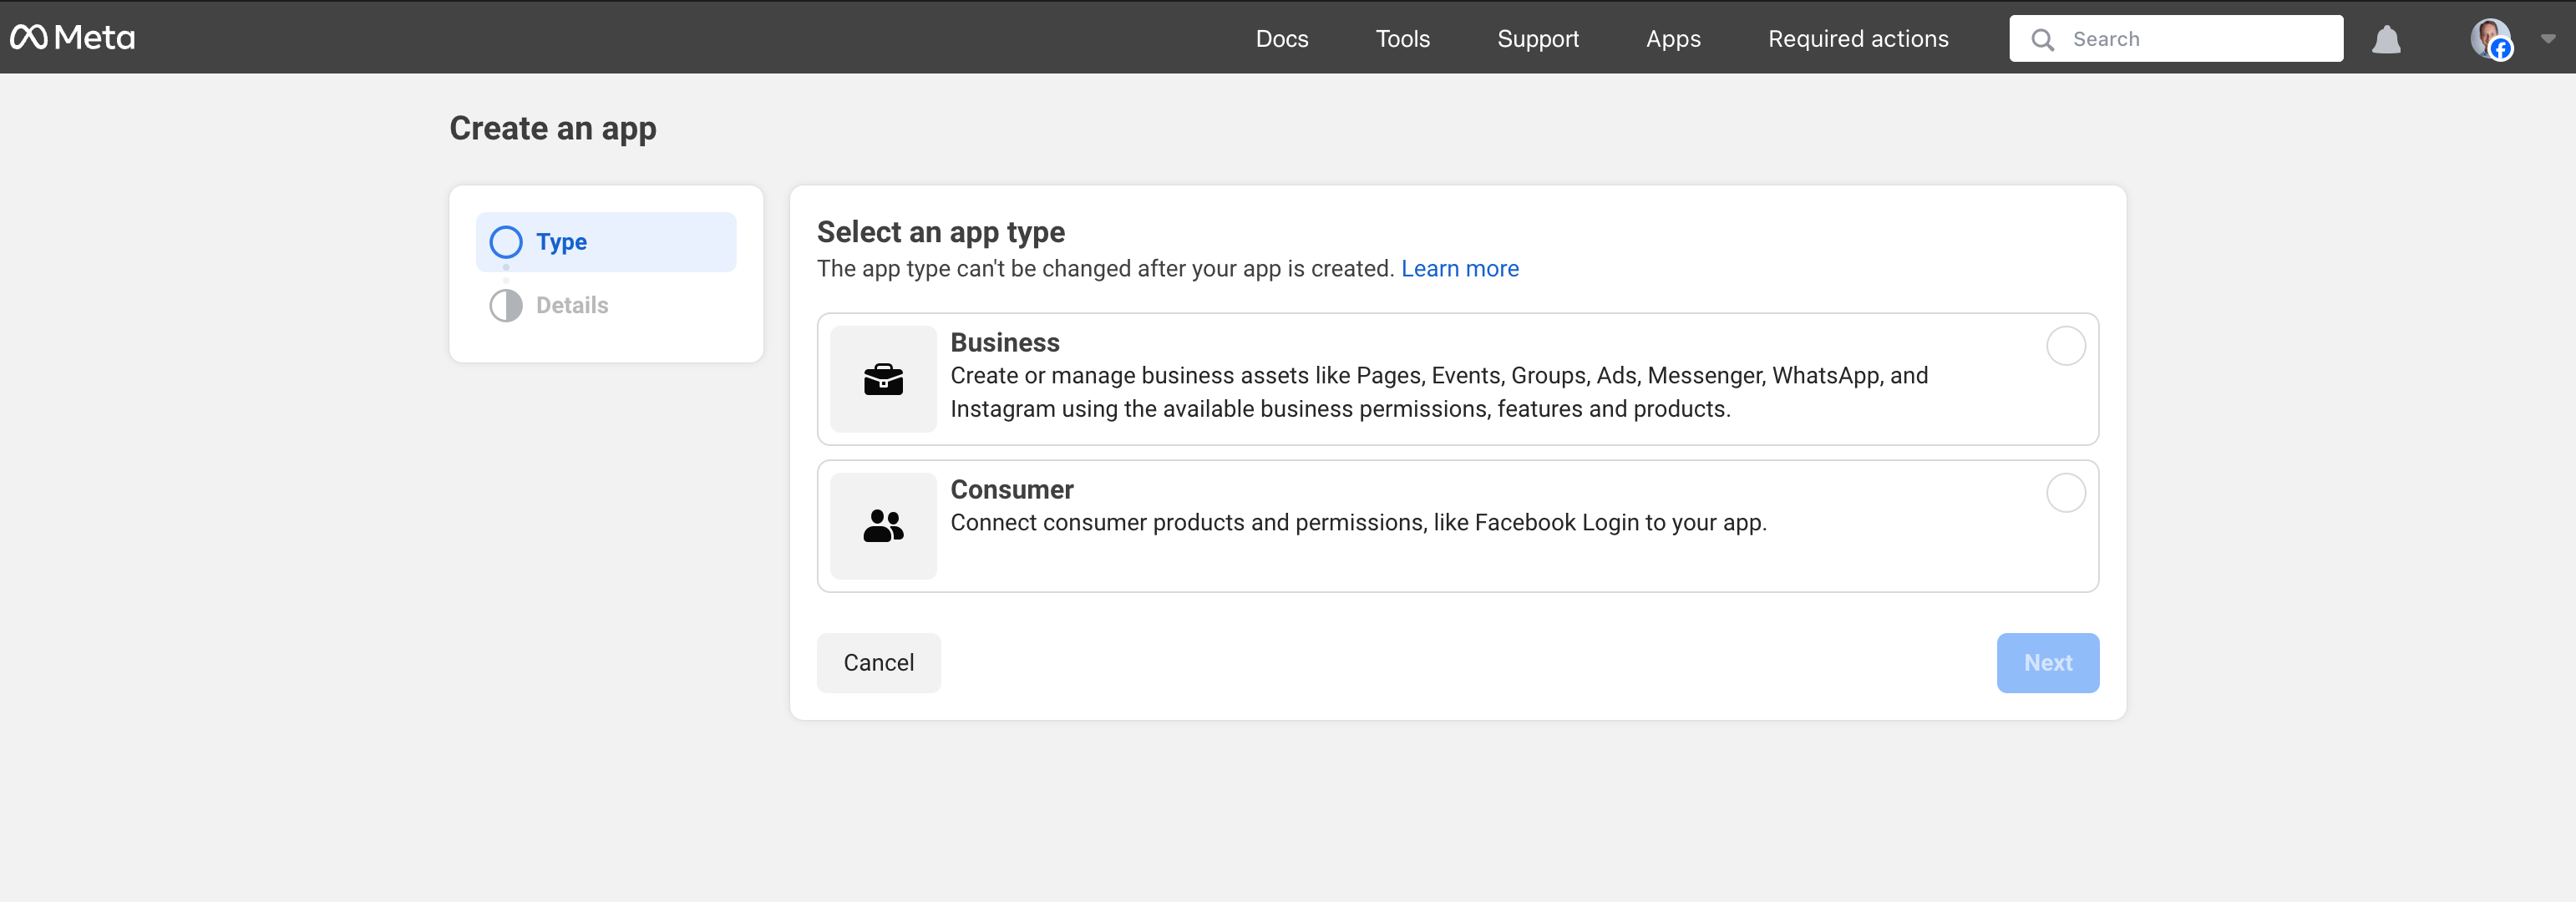
 4. Select **"Business"** as the app type:
 5. Choose your **Business Manager account** (if you have one):
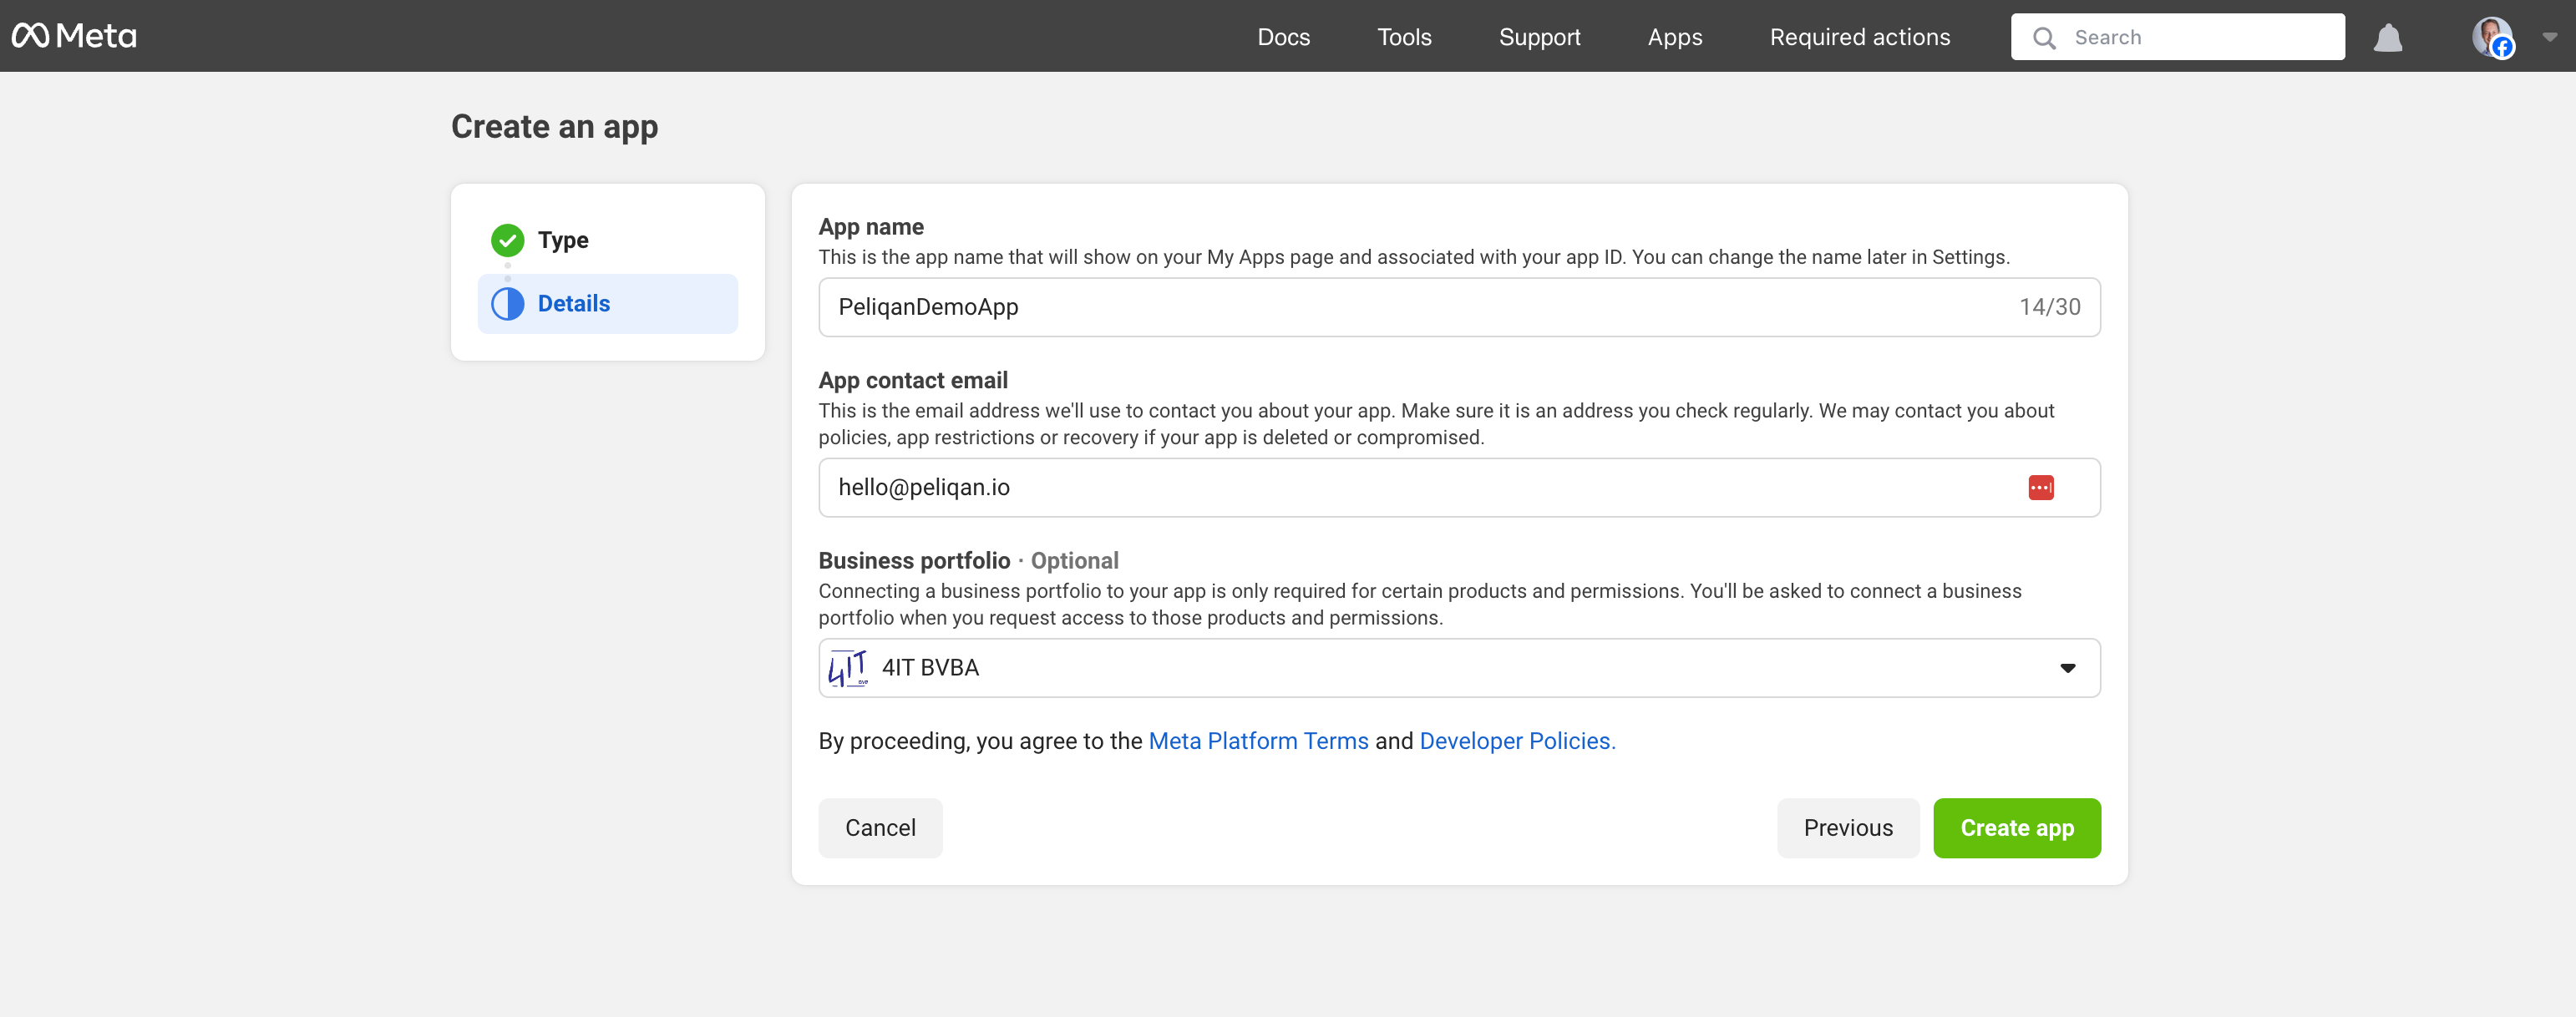 6. Click **"Create App"**.
### Step 3: Add the "Marketing API" product
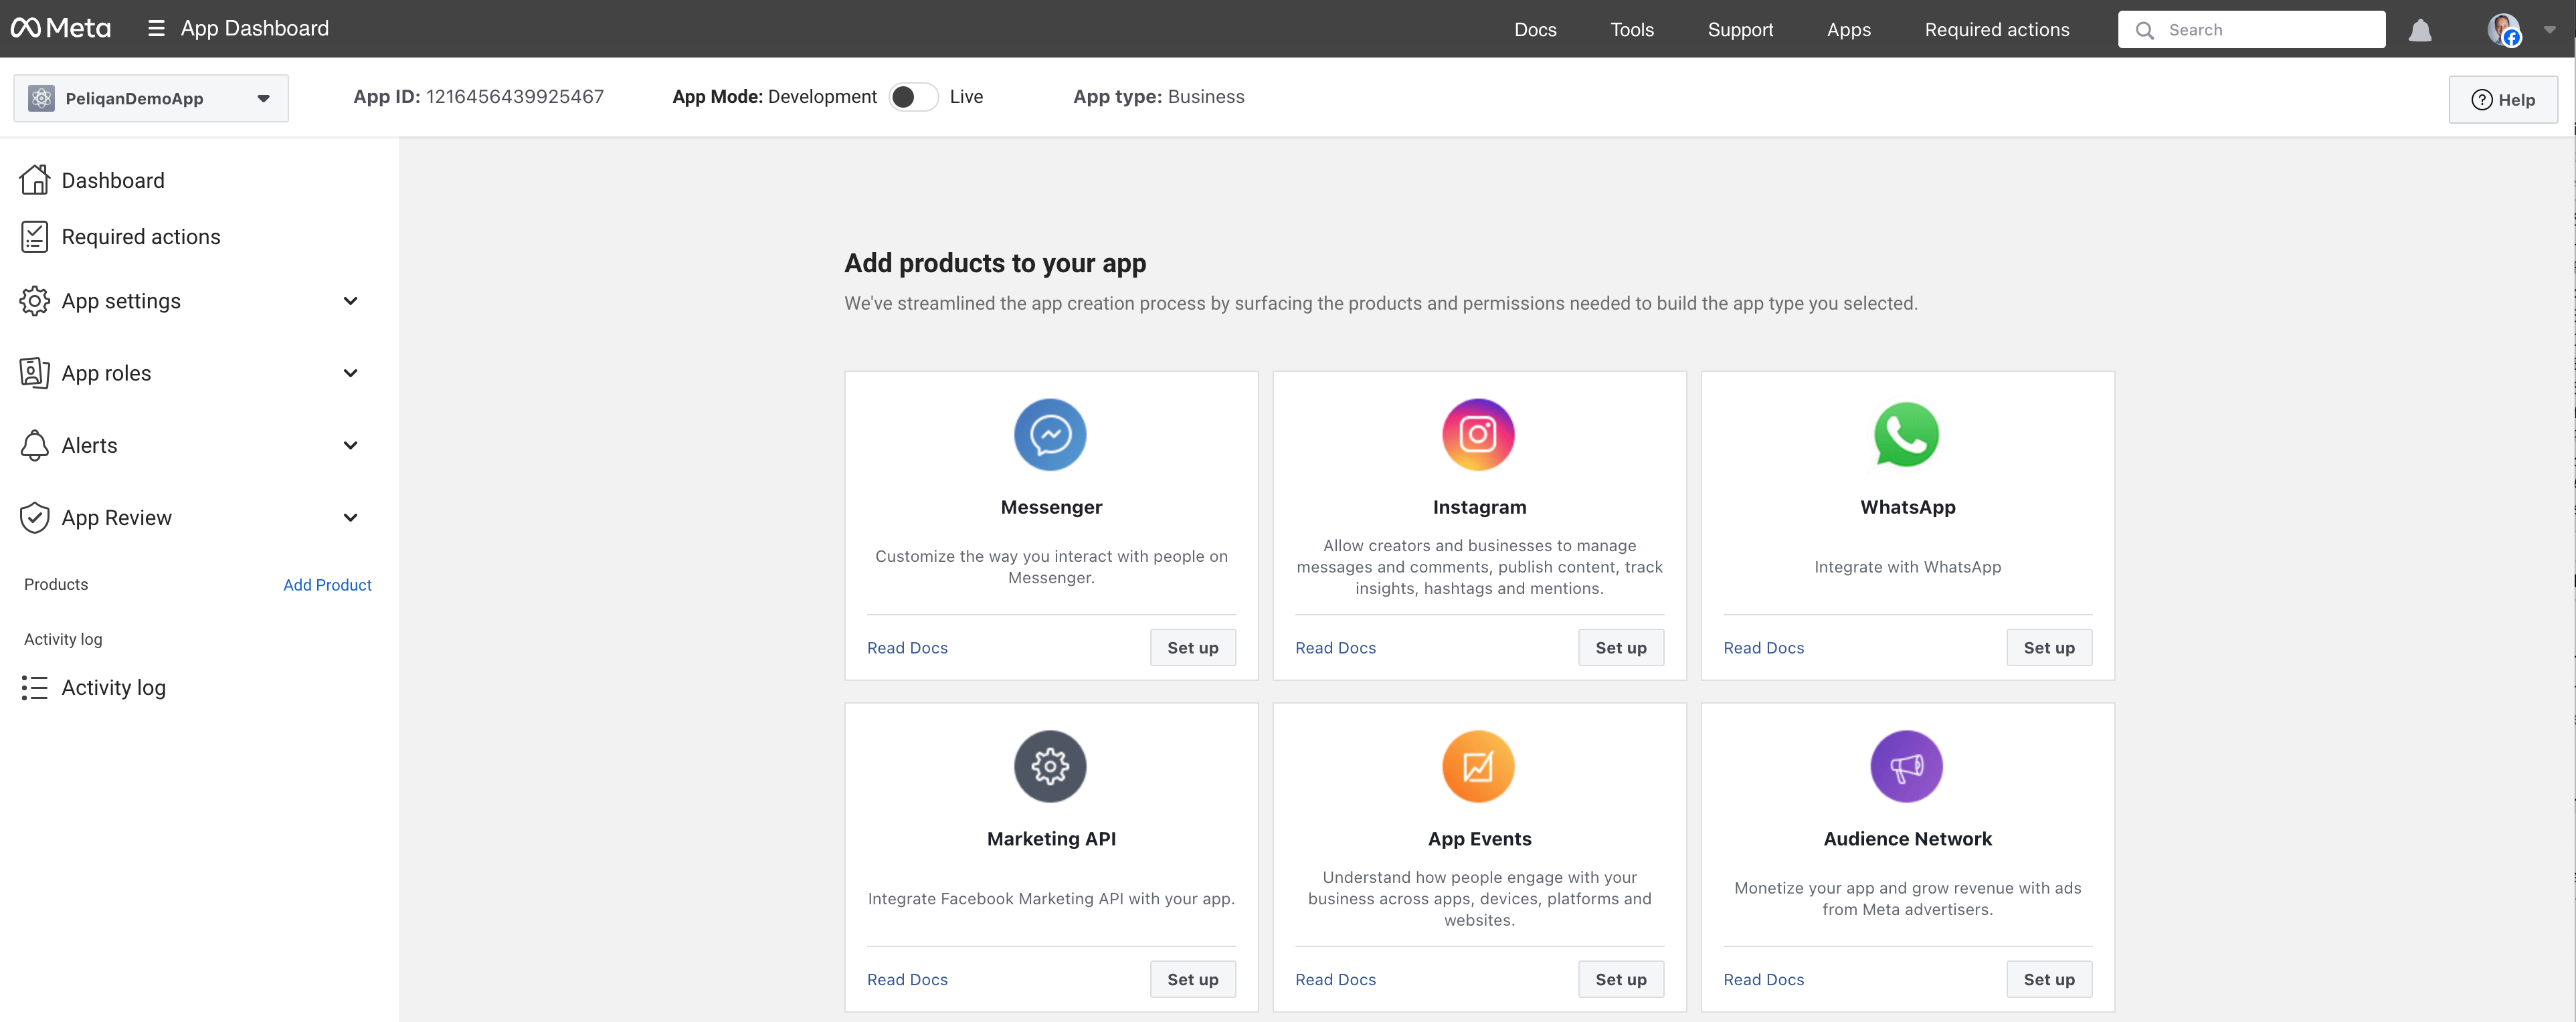
1. On the **Dashboard** of your app, in the center pane, scroll down to **"Add Products to Your App"** and Add the **Marketing API:**
6. Click **"Create App"**.
### Step 3: Add the "Marketing API" product
1. On the **Dashboard** of your app, in the center pane, scroll down to **"Add Products to Your App"** and Add the **Marketing API:**
 ### Step 4: Create a System User and get a token
Create a System User in the Facebook Business Manager and create a token for the System User.
1. Create a System User (to have a permanent token):
[Facebook Business Manager > System Users](https://business.facebook.com/settings)
2. Assign assets to the System User:
* Add Facebook page(s) - e.g. for the \[/instagram-getting-started-in-peliqan]\(Instagram connector), make sure to select a Facebook page which is linked to the Instagram Business Account
* Add the app (with permission "full access")
3. Generate a token for the System User:
* Select your Facebook app
* Expiration: never
* Assign permissions: `pages_show_list`, `pages_read_engagement`, `instagram_basic`, `instagram_manage_insights`
*Note: the instagram scopes are only needed if you will re-use this token for the Instagram connector*
### Step 5: Get your Ad Account ID
1. Click on the **Tools** menu item in the top menu present on the top of the page and then click on the **VIEW ALL TOOLS** menu item:
### Step 4: Create a System User and get a token
Create a System User in the Facebook Business Manager and create a token for the System User.
1. Create a System User (to have a permanent token):
[Facebook Business Manager > System Users](https://business.facebook.com/settings)
2. Assign assets to the System User:
* Add Facebook page(s) - e.g. for the \[/instagram-getting-started-in-peliqan]\(Instagram connector), make sure to select a Facebook page which is linked to the Instagram Business Account
* Add the app (with permission "full access")
3. Generate a token for the System User:
* Select your Facebook app
* Expiration: never
* Assign permissions: `pages_show_list`, `pages_read_engagement`, `instagram_basic`, `instagram_manage_insights`
*Note: the instagram scopes are only needed if you will re-use this token for the Instagram connector*
### Step 5: Get your Ad Account ID
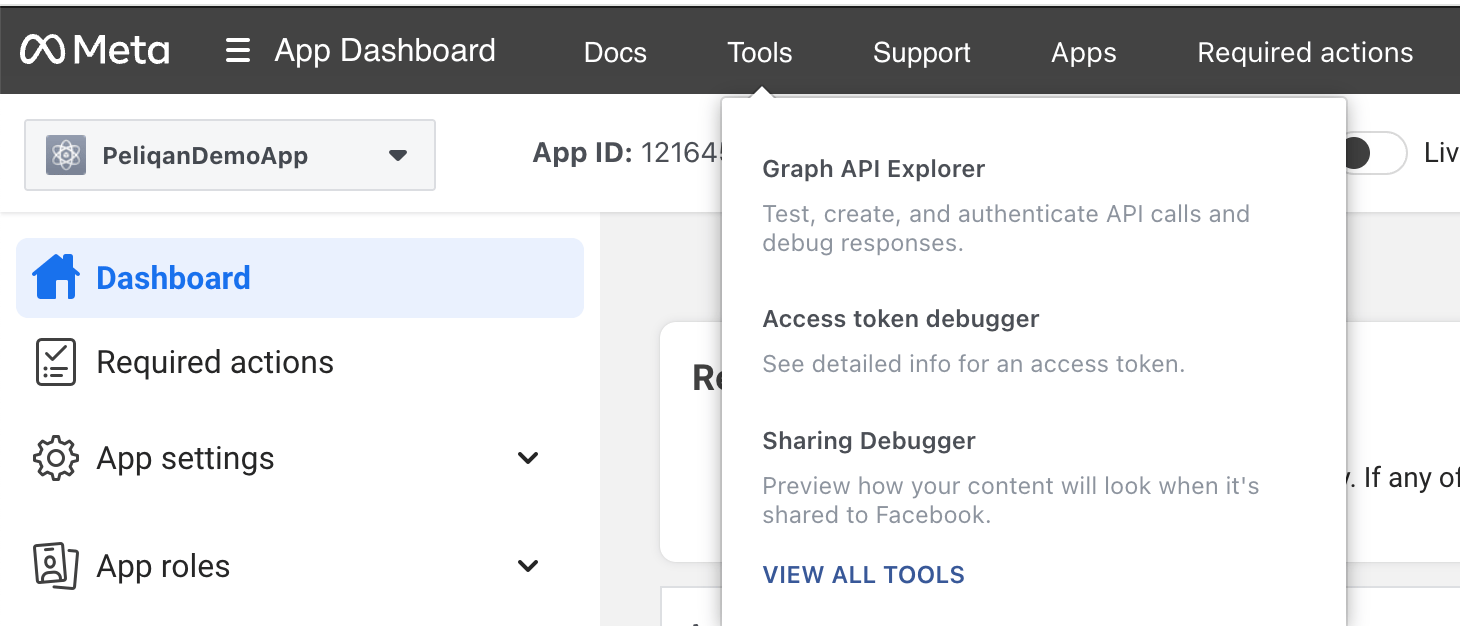
1. Click on the **Tools** menu item in the top menu present on the top of the page and then click on the **VIEW ALL TOOLS** menu item:
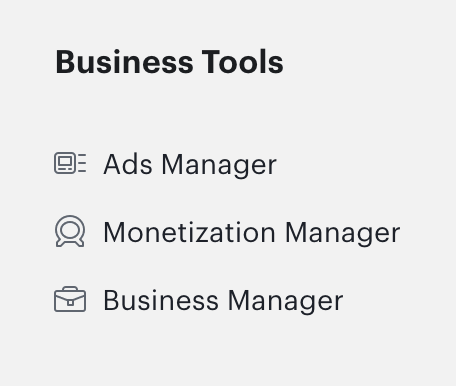
 2. On the **Developer Tools** page, click on **Business Tools > Ads Manager** on the right hand side of the page:
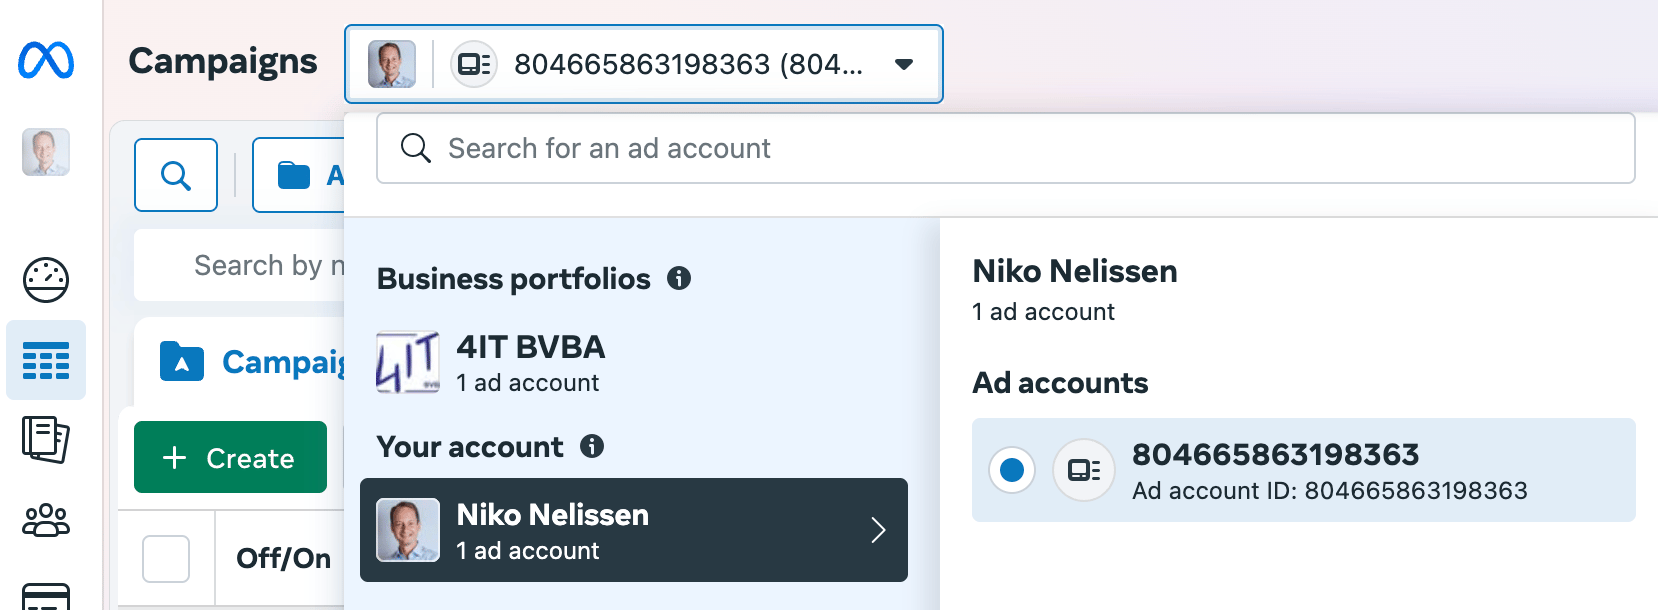
 3. Your Ad Account ID is visible in the top left corner, copy it and paste it in Peliqan:
 This documentation is built and hosted on [Mintlify](https://mintlify.com), a developer documentation platform.