Install the Peliqan add-in in Excel
In Excel go to the Home Ribbon, click on Add-ins and select “More add-ins”:
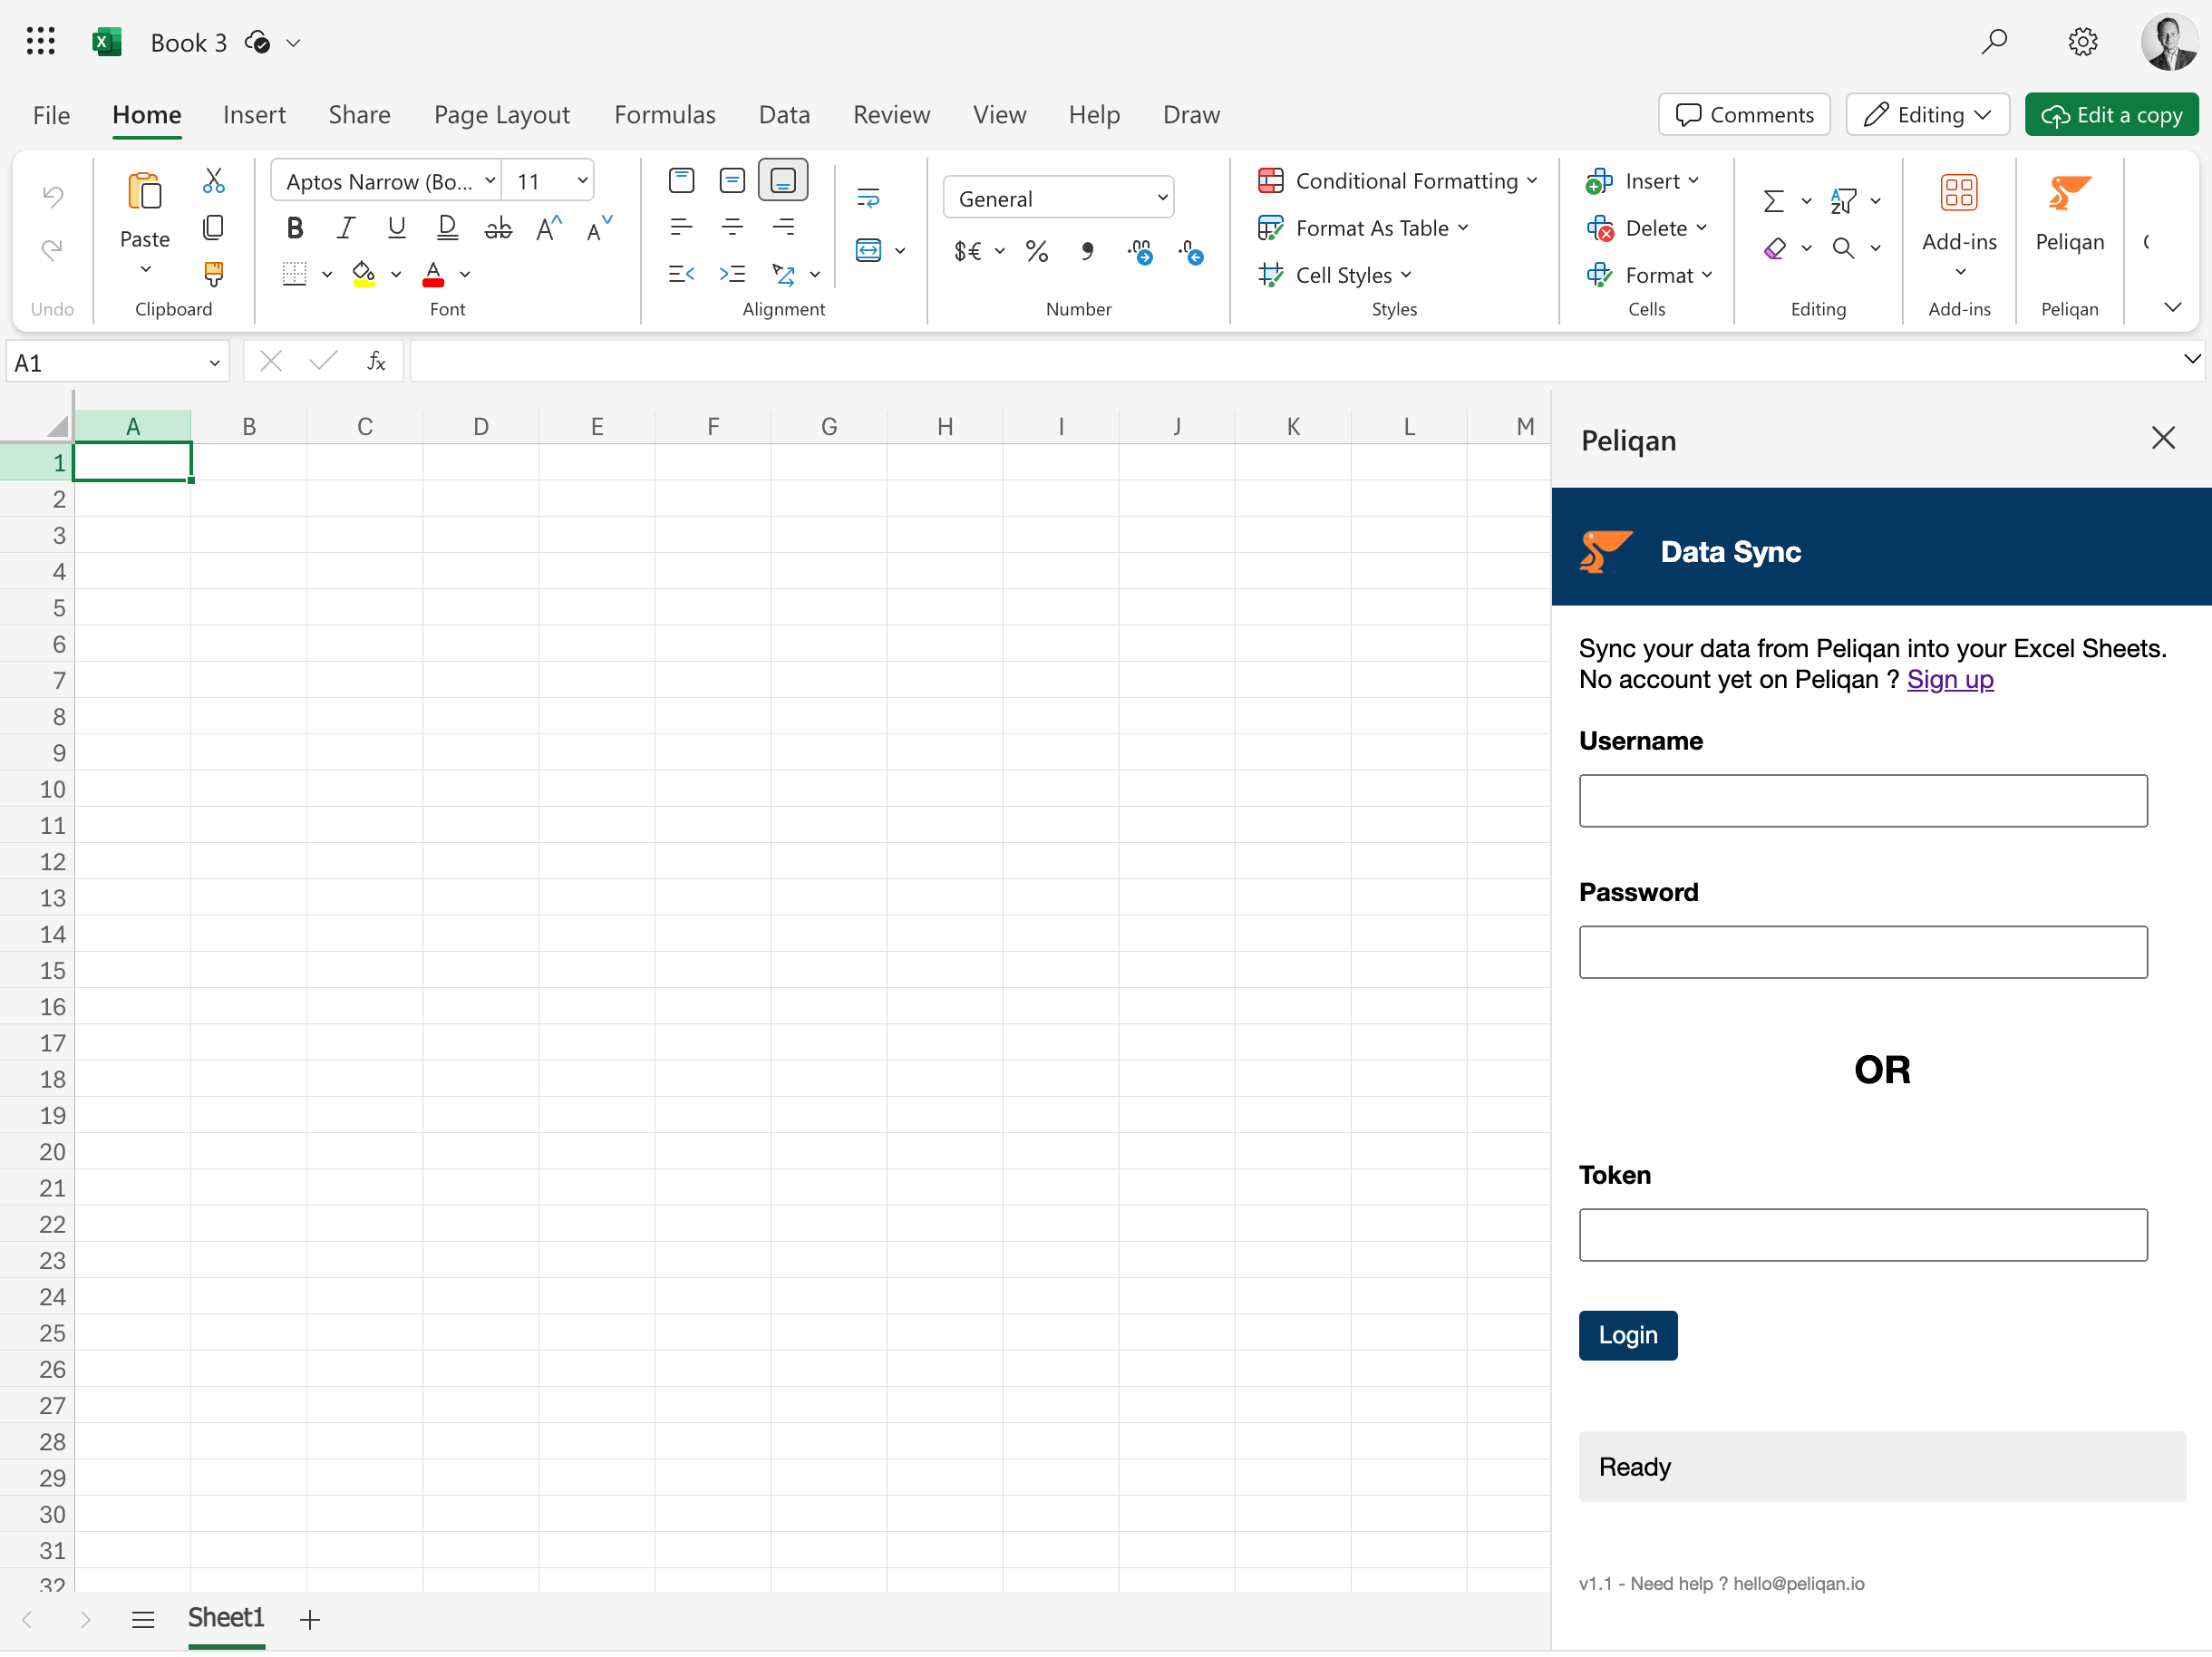
Login in the Add-in
Login with your Peliqan username & password. When you have 2FA enabled, login with your API token instead. You can find an API key in Peliqan under:- Go to Admin > Settings > API token (access for Account Admins only): this is an account-wide API token with access to all tables in the account.
- Click on the User icon in bottom left corner > User Settings > API token: this is your personal API token with permissions defined by the groups that you belong to in Peliqan.
Sync data into Excel
Once you are logged in inside the add-in, you will see a list of tables and queries that are available to you: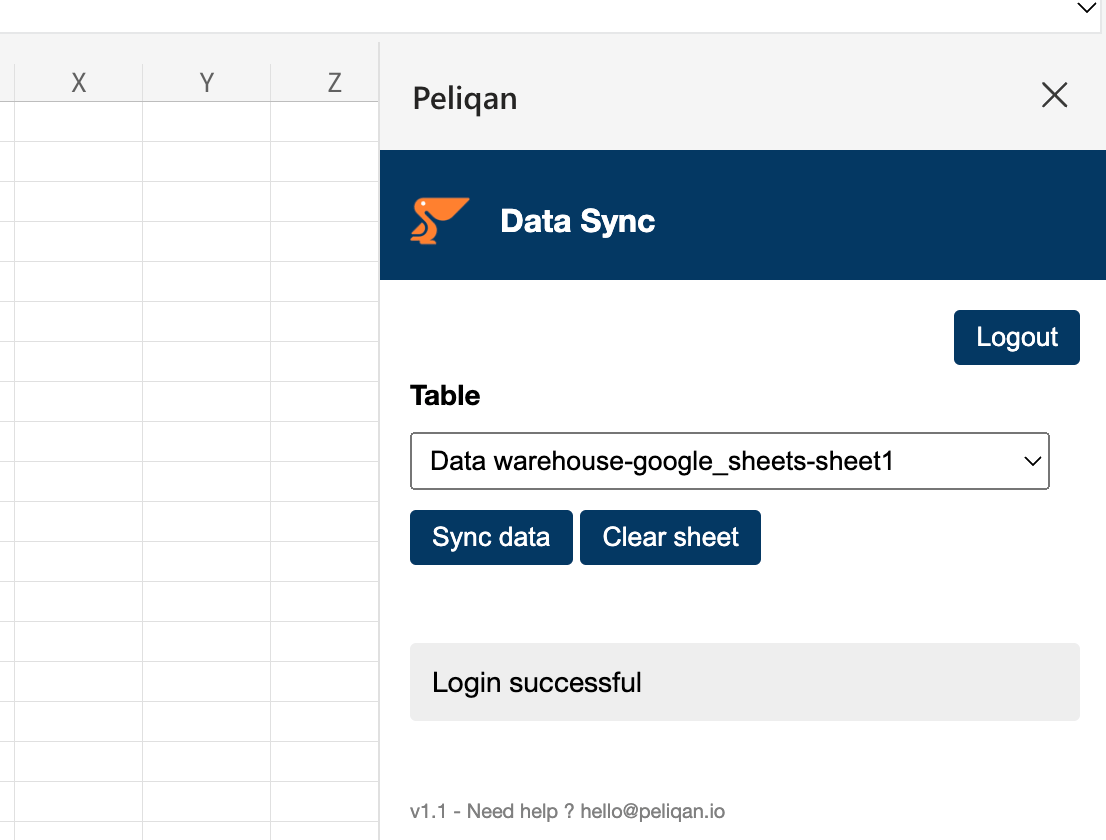
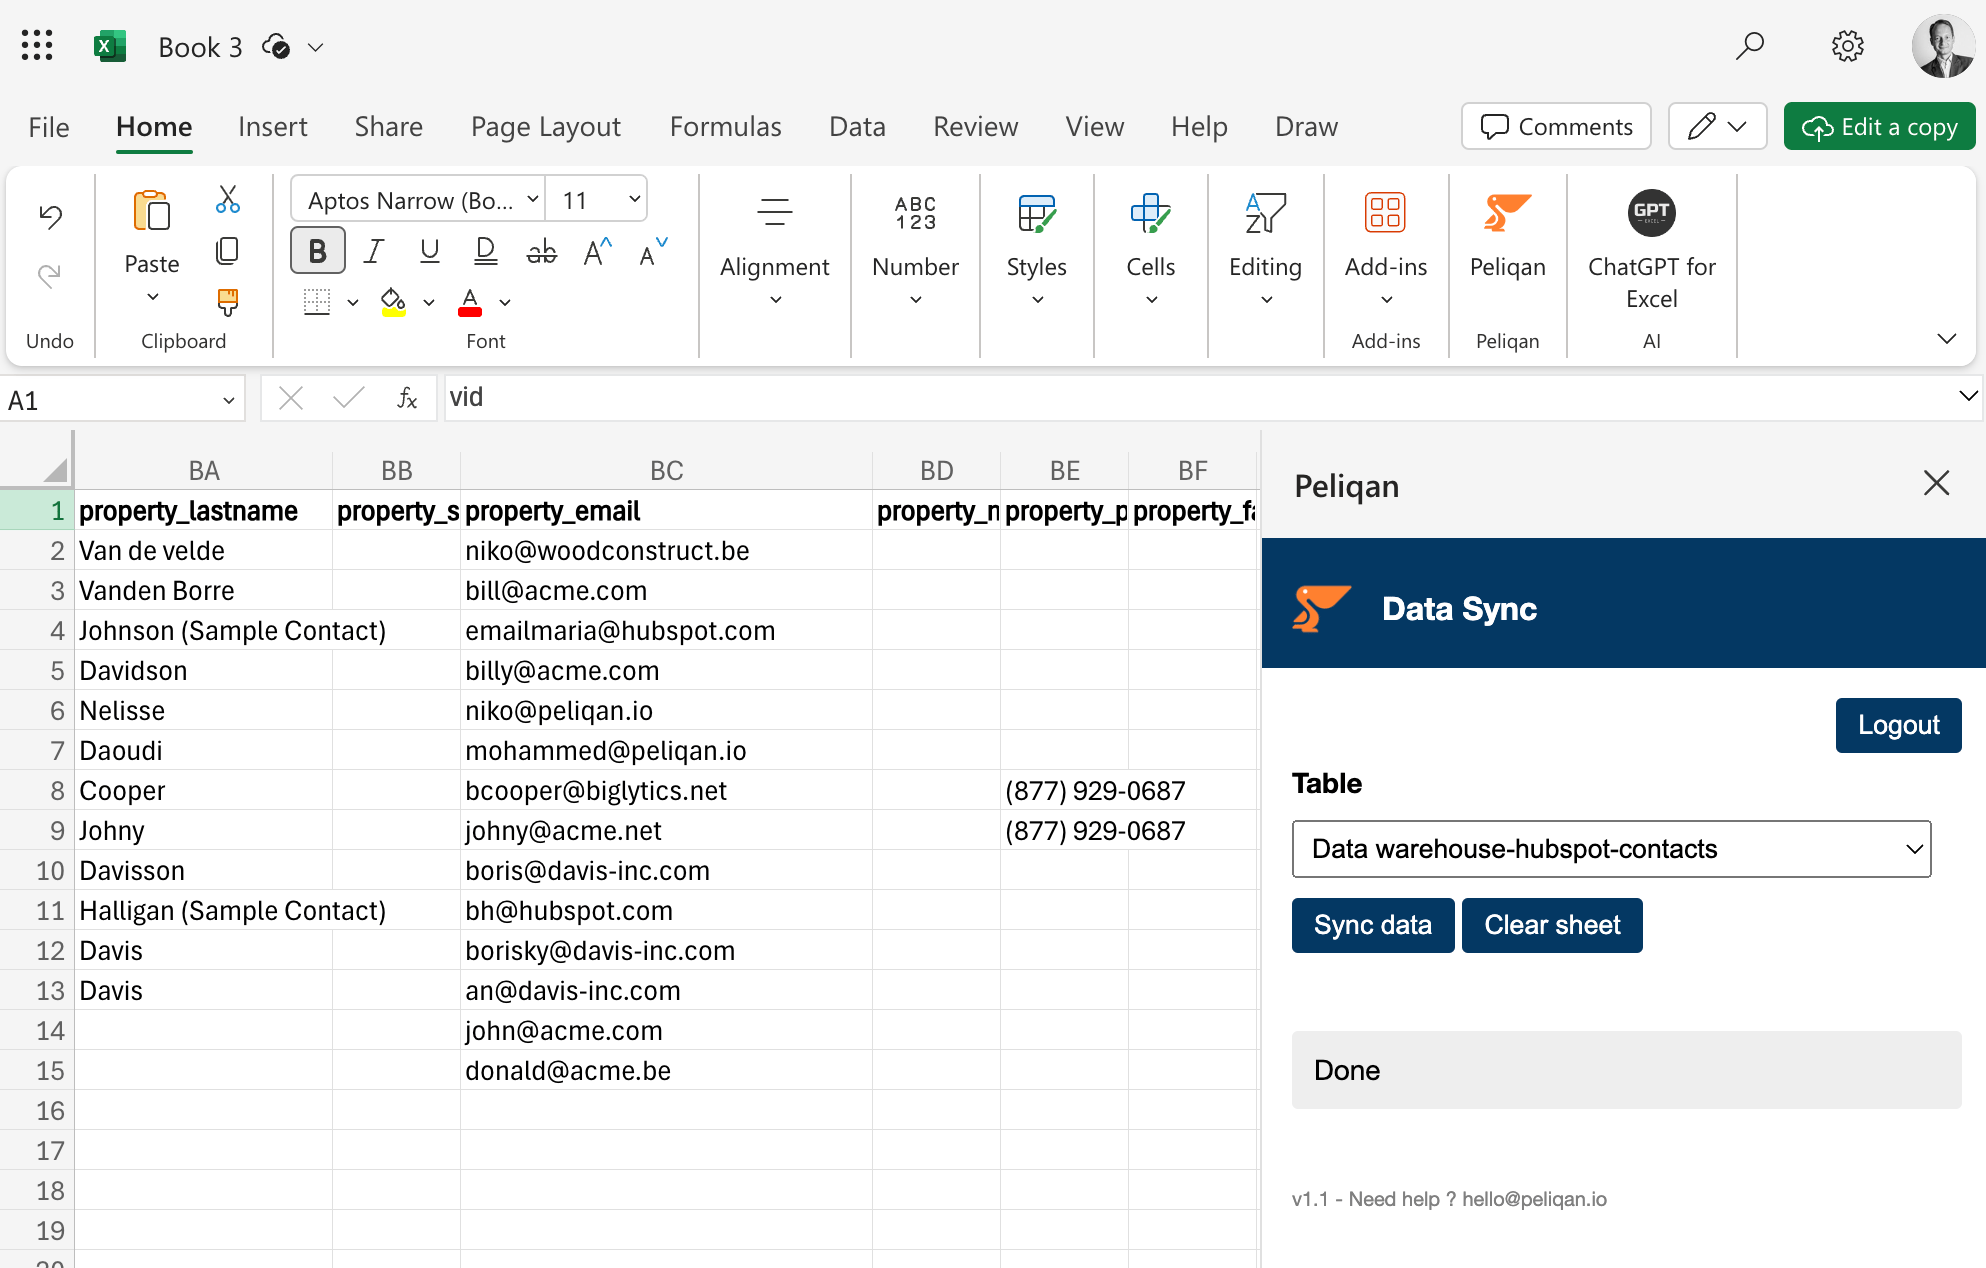
VLOOKUP formulas to fetch data from the data sheet.
Keep multiple sheets up-to-date
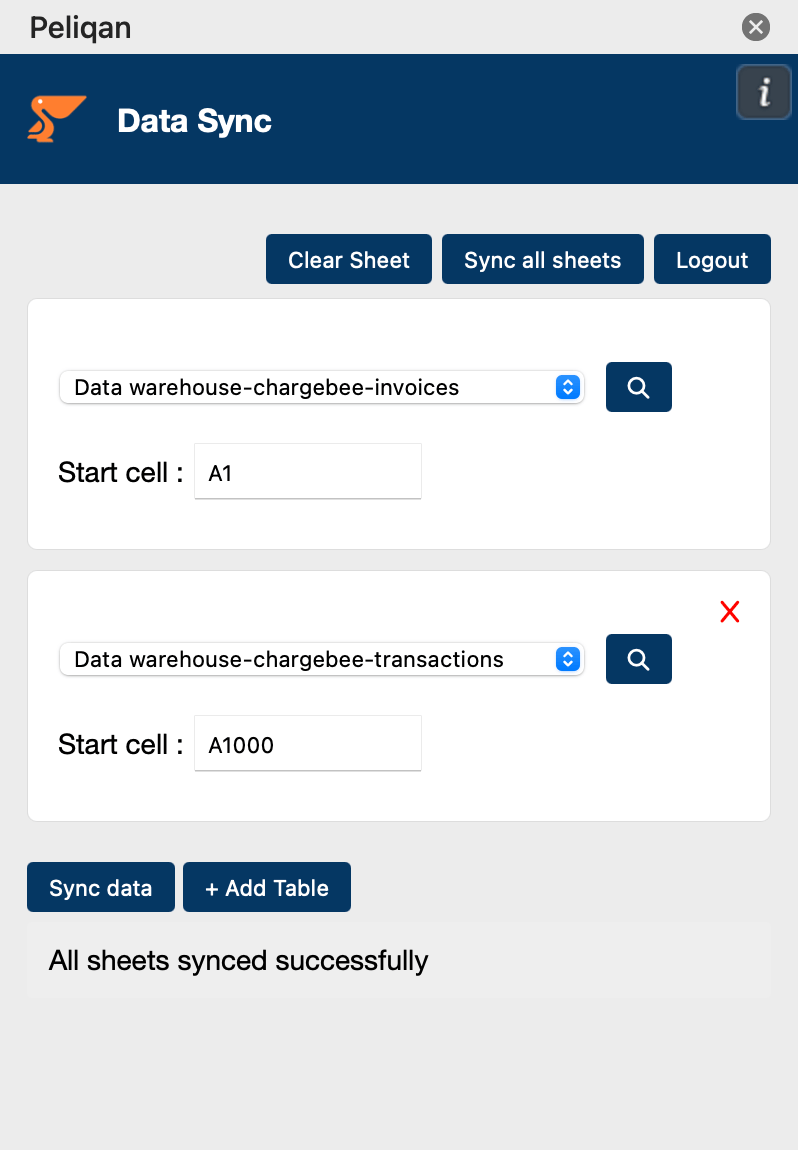
When you select a Table and click on the “Sync data” button, the add-in will remember your choice. Next time when you open your Excel file and go to the same Sheet, the mapped table will be remembered and automatically selected. You can add add mappings in multiple sheets in Excel, and click the button “Sync all sheets”, to keep all the sheets updated with a single click of a button: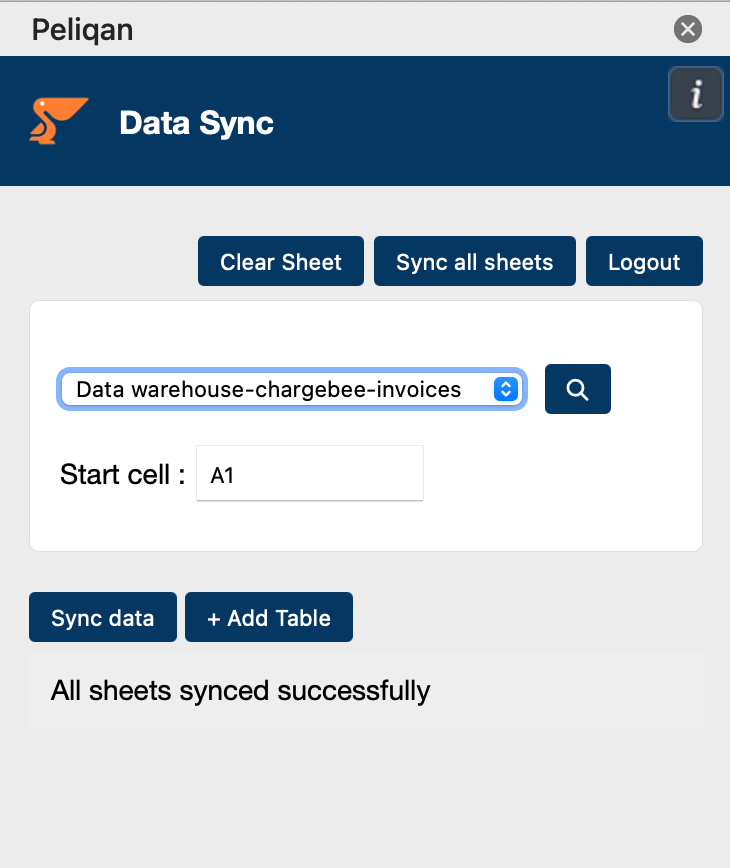
Sync multiple tables to the same sheet
You can sync multiple tables from Peliqan to the same sheet in Excel, by clicking the ”+ Add table” button. Configure a different Start call for each table and make sure the resulting data will not overlap: